
Part 1 of 5 Sign up & Account details

Go to https://printify.com and click the Sign up button.

Enter your chosen email address. (This will be verified later).
Enter your chosen password.
Click the 'I'm not a robot' box.
Click the Sign up button.
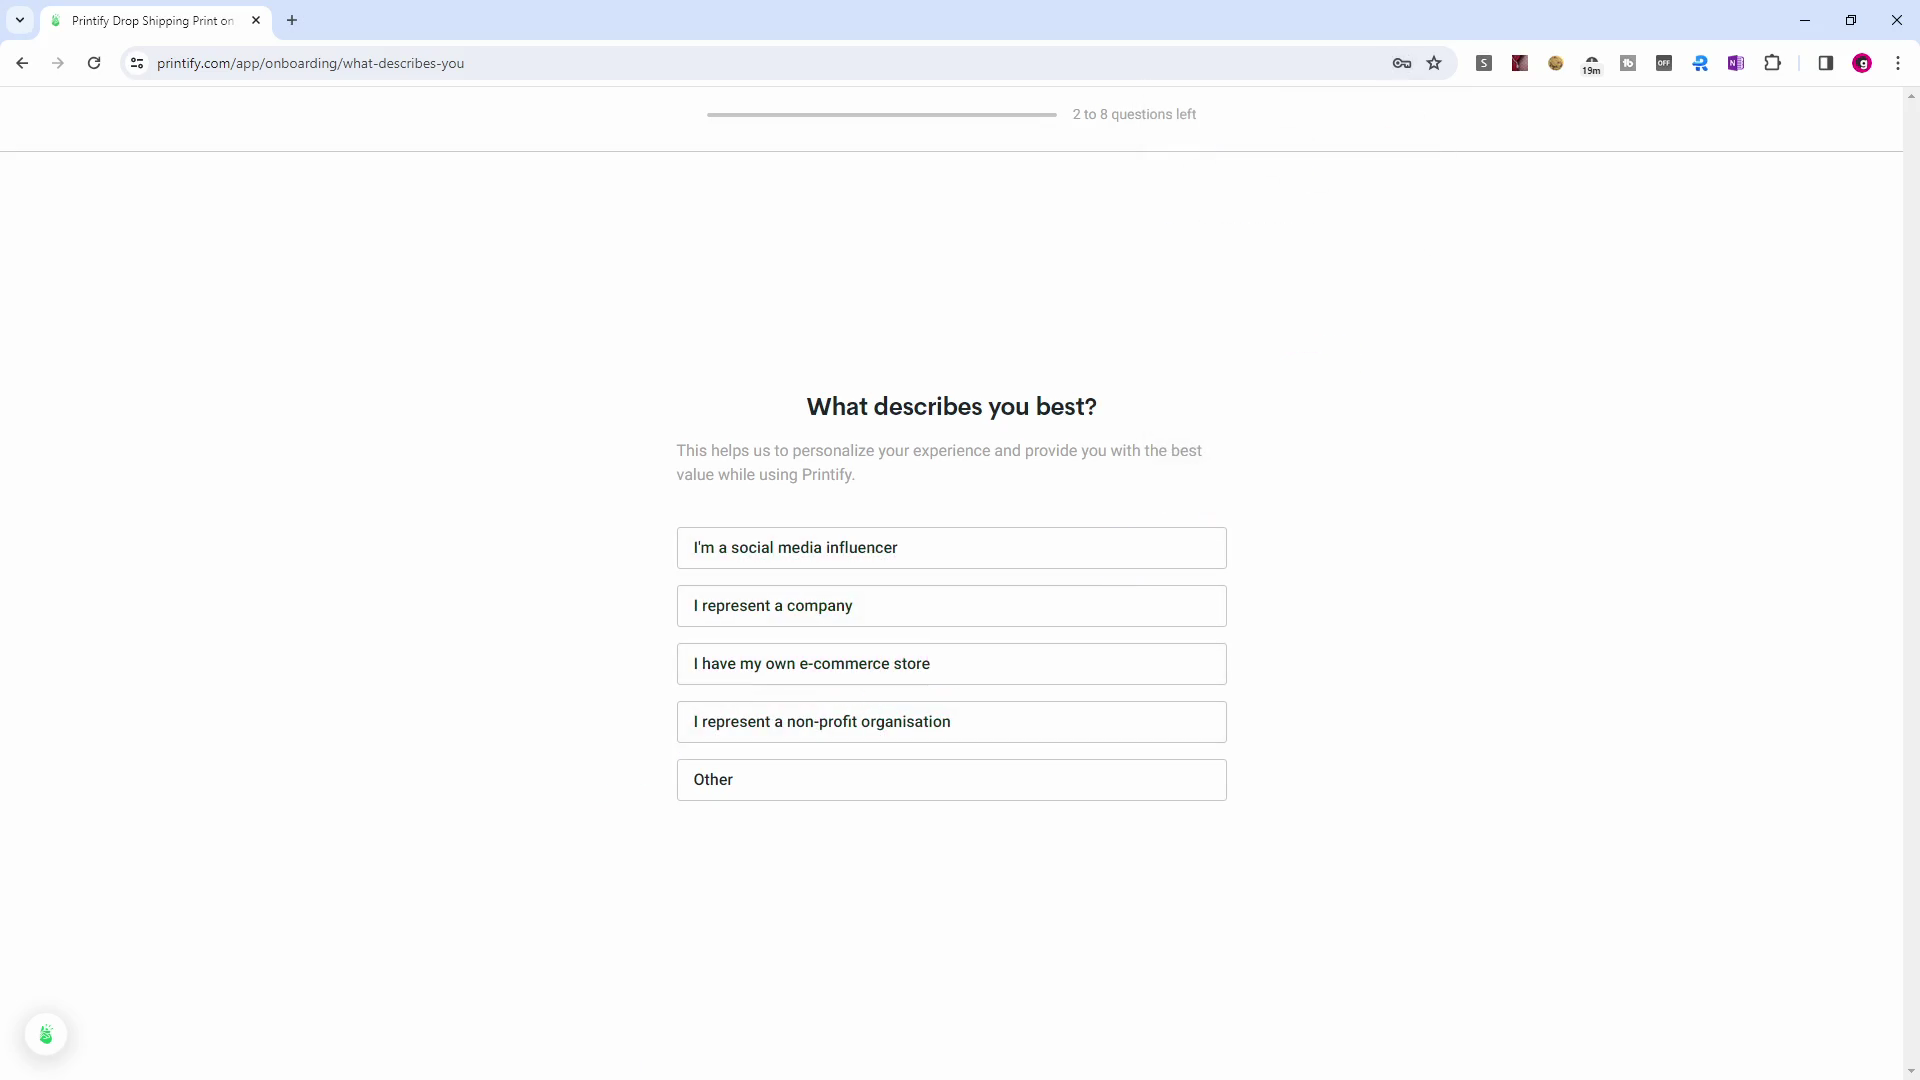
A brief questionnaire follows - Just 8 questions.
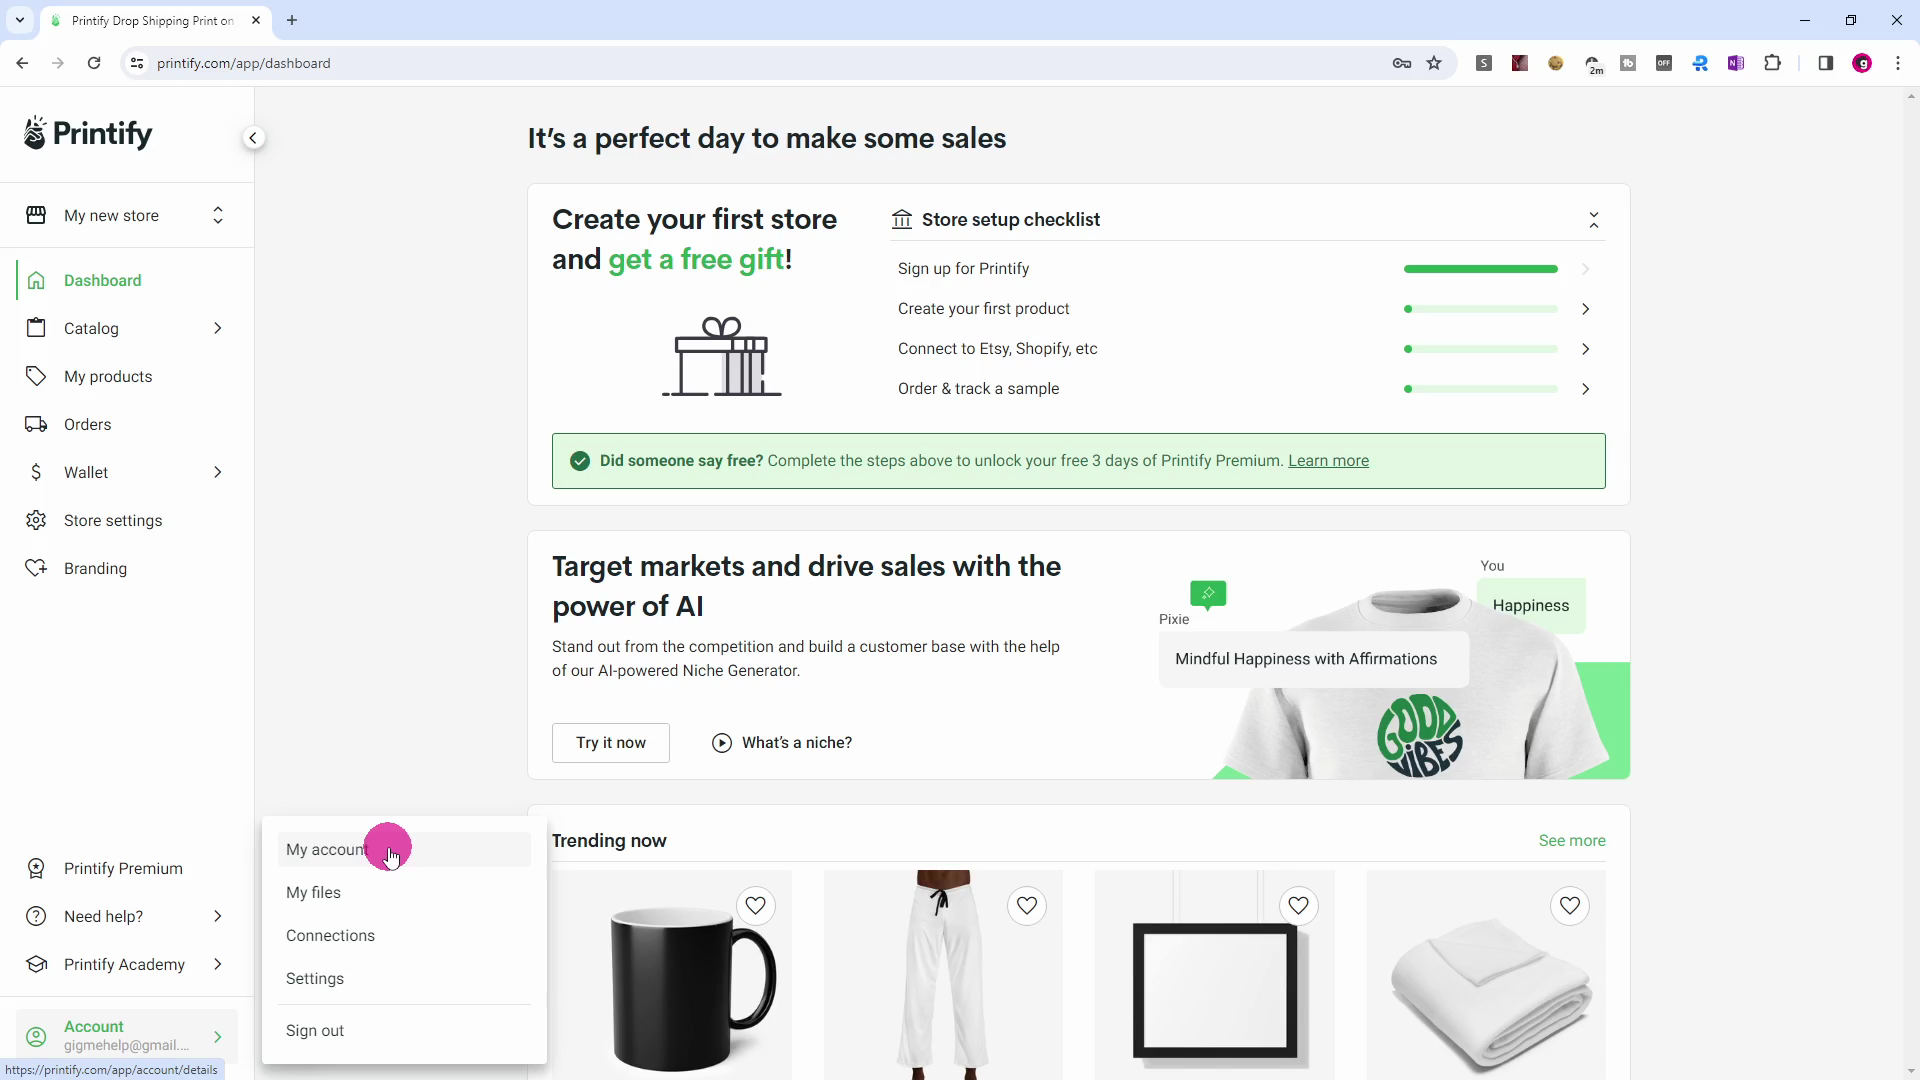
Click the Account menu item, followed by My account.
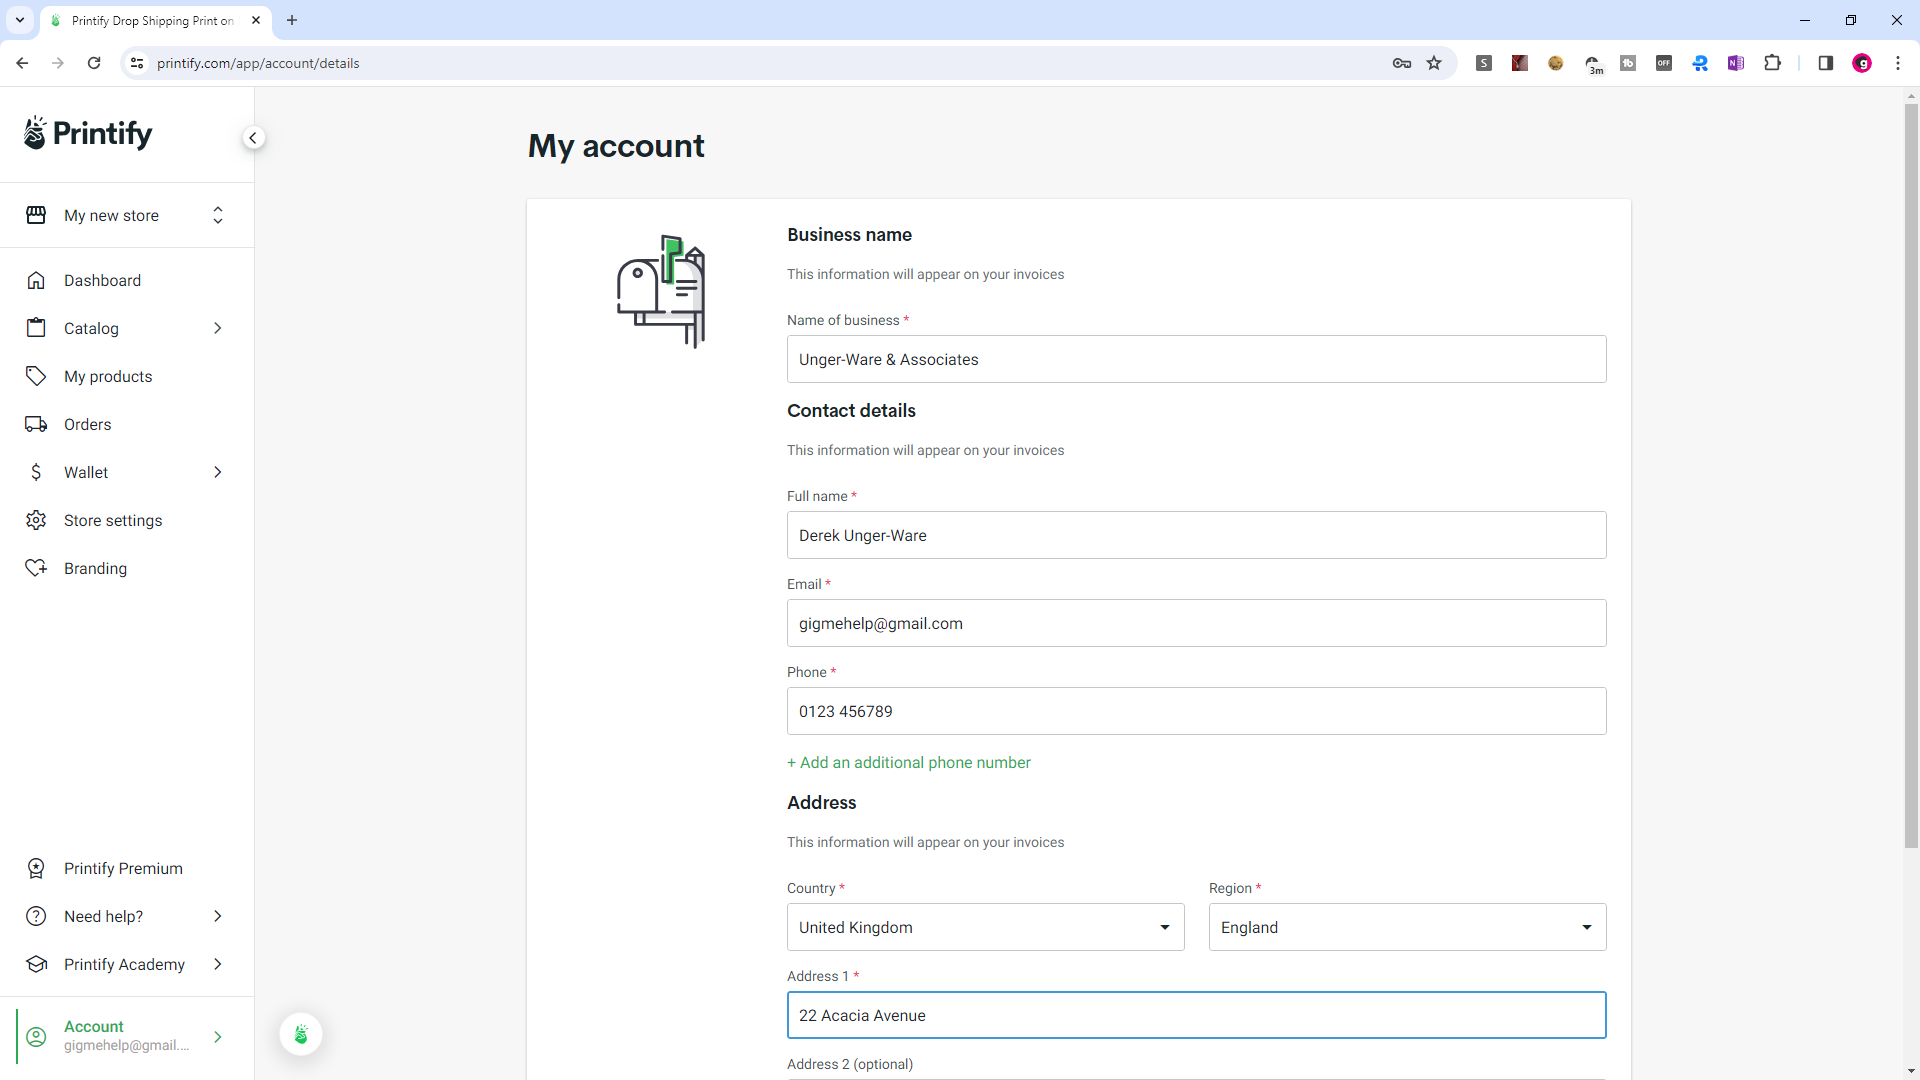
For your Business name, enter either: Your actual name, your 'Trading As' name, or your Company name as appropriate.
Then enter your name, phone no, country, region, and address...

Complete your address, enter your city and postcode. Then click the Submit button.
Part 2 of 5 Settings

Click the Account menu item, followed by Settings.

Select 'Use metric system'.
Select (GMT+00:00) UTC for Timezone.
Keep the Email notifications selected (for now).
Select 'Upon payment (Per order invoices)' under Invoices frequency and format. (For now).

Click the Get verification email button.
The message 'Verification email sent. To proceed check your inbox' will appear.

Go to your email system inbox. (Gmail is shown in this example, but yours may be different).
Open the email from Printify entitled 'Please verify your email'.
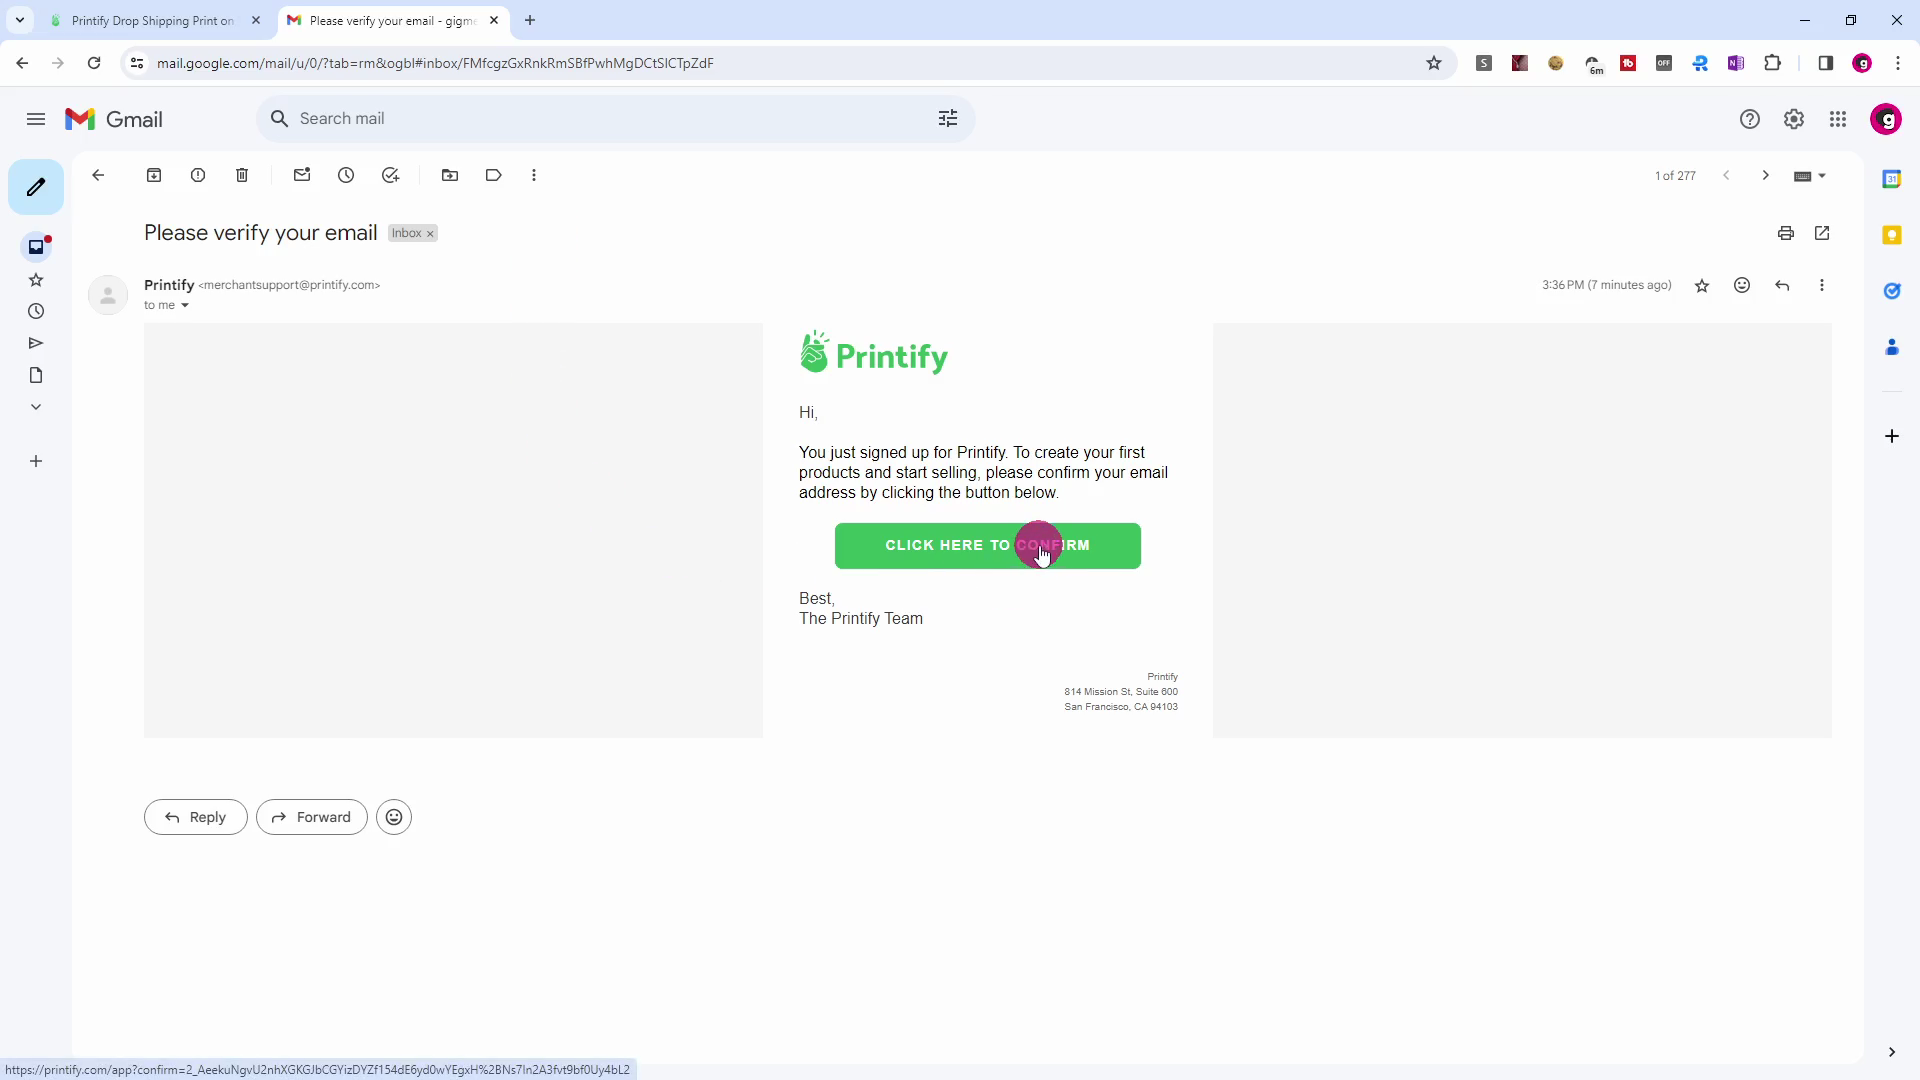
Click the 'CLICK HERE TO CONFIRM' button.
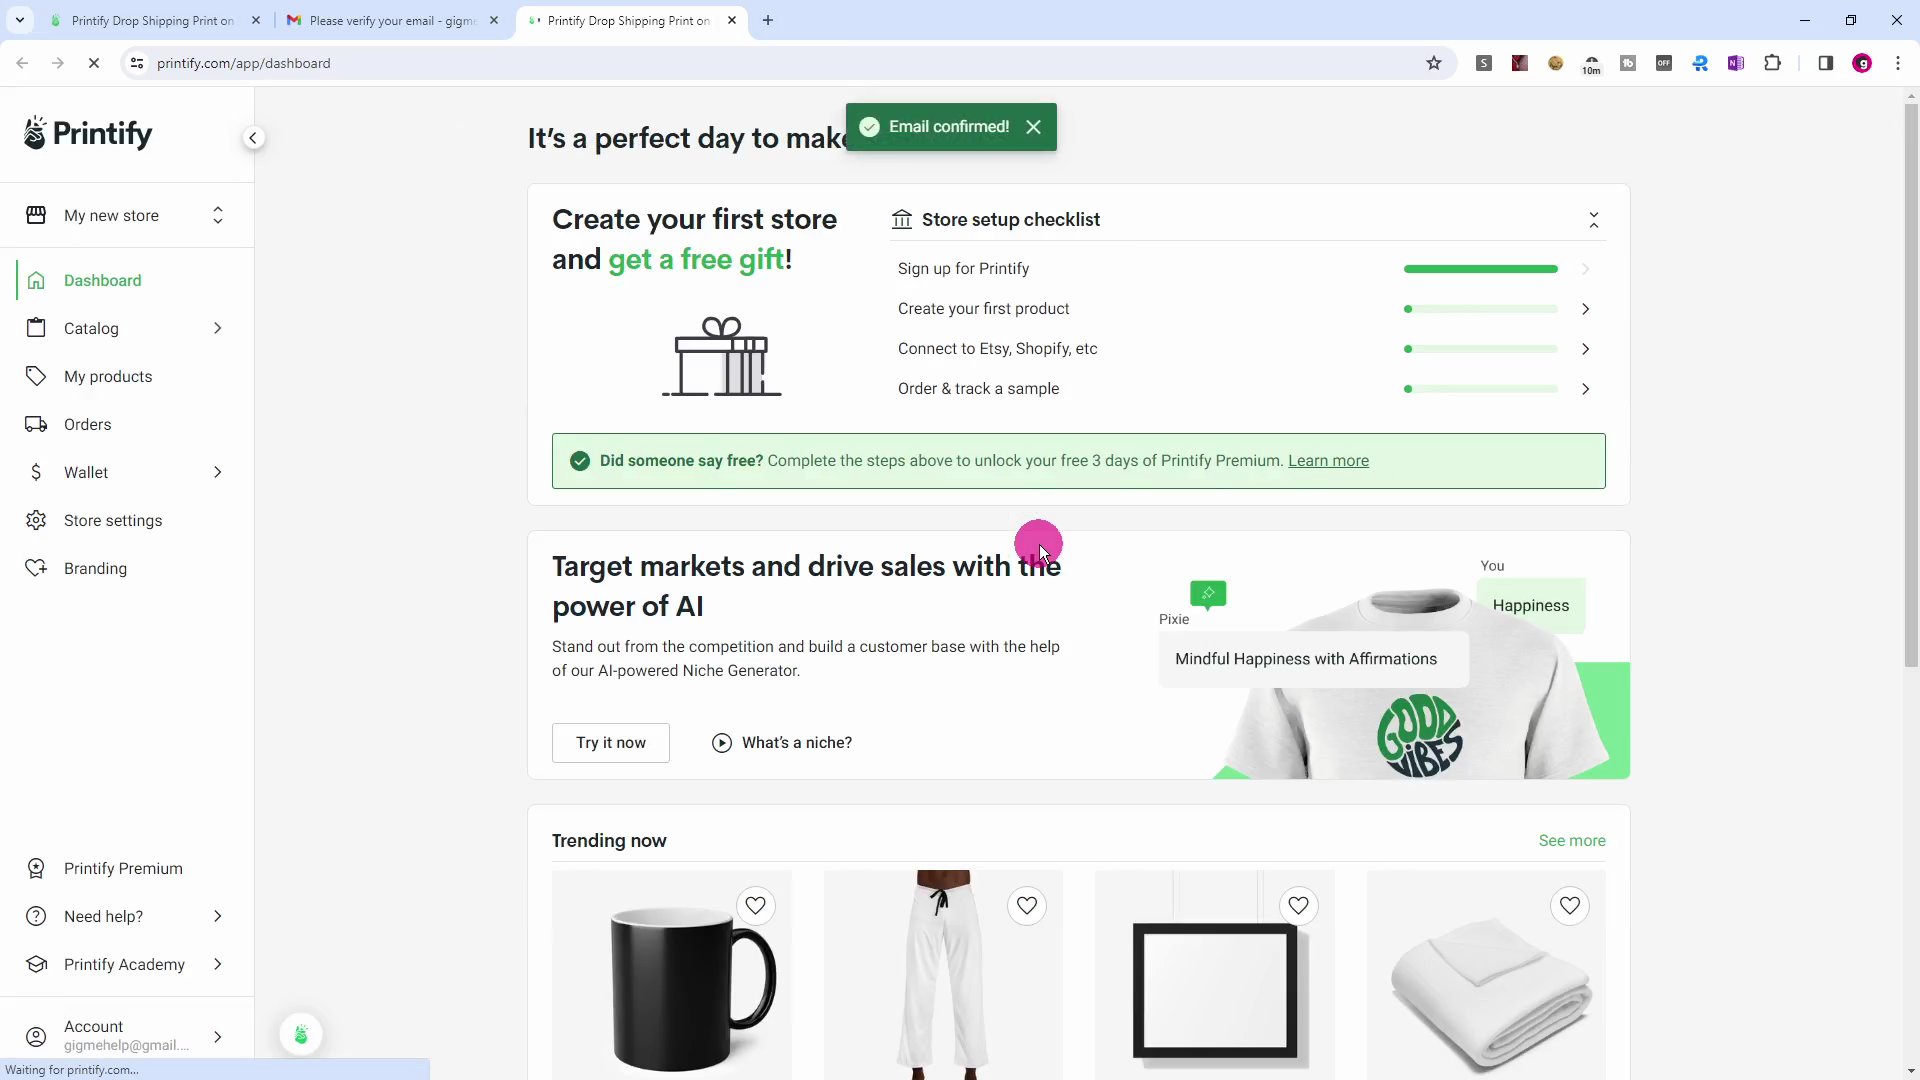
Back in your browser, a new tab will appear and the message 'Email confirmed!' will appear briefly.
Part 3 of 5 Payments
When you sell an item on GigMe, you collect the full RETAIL PRICE for it into your account and a Printify order is created. Printify then collects the COST PRICE of the item from you, manufactures and ships the item, leaving the PROFIT in your account.
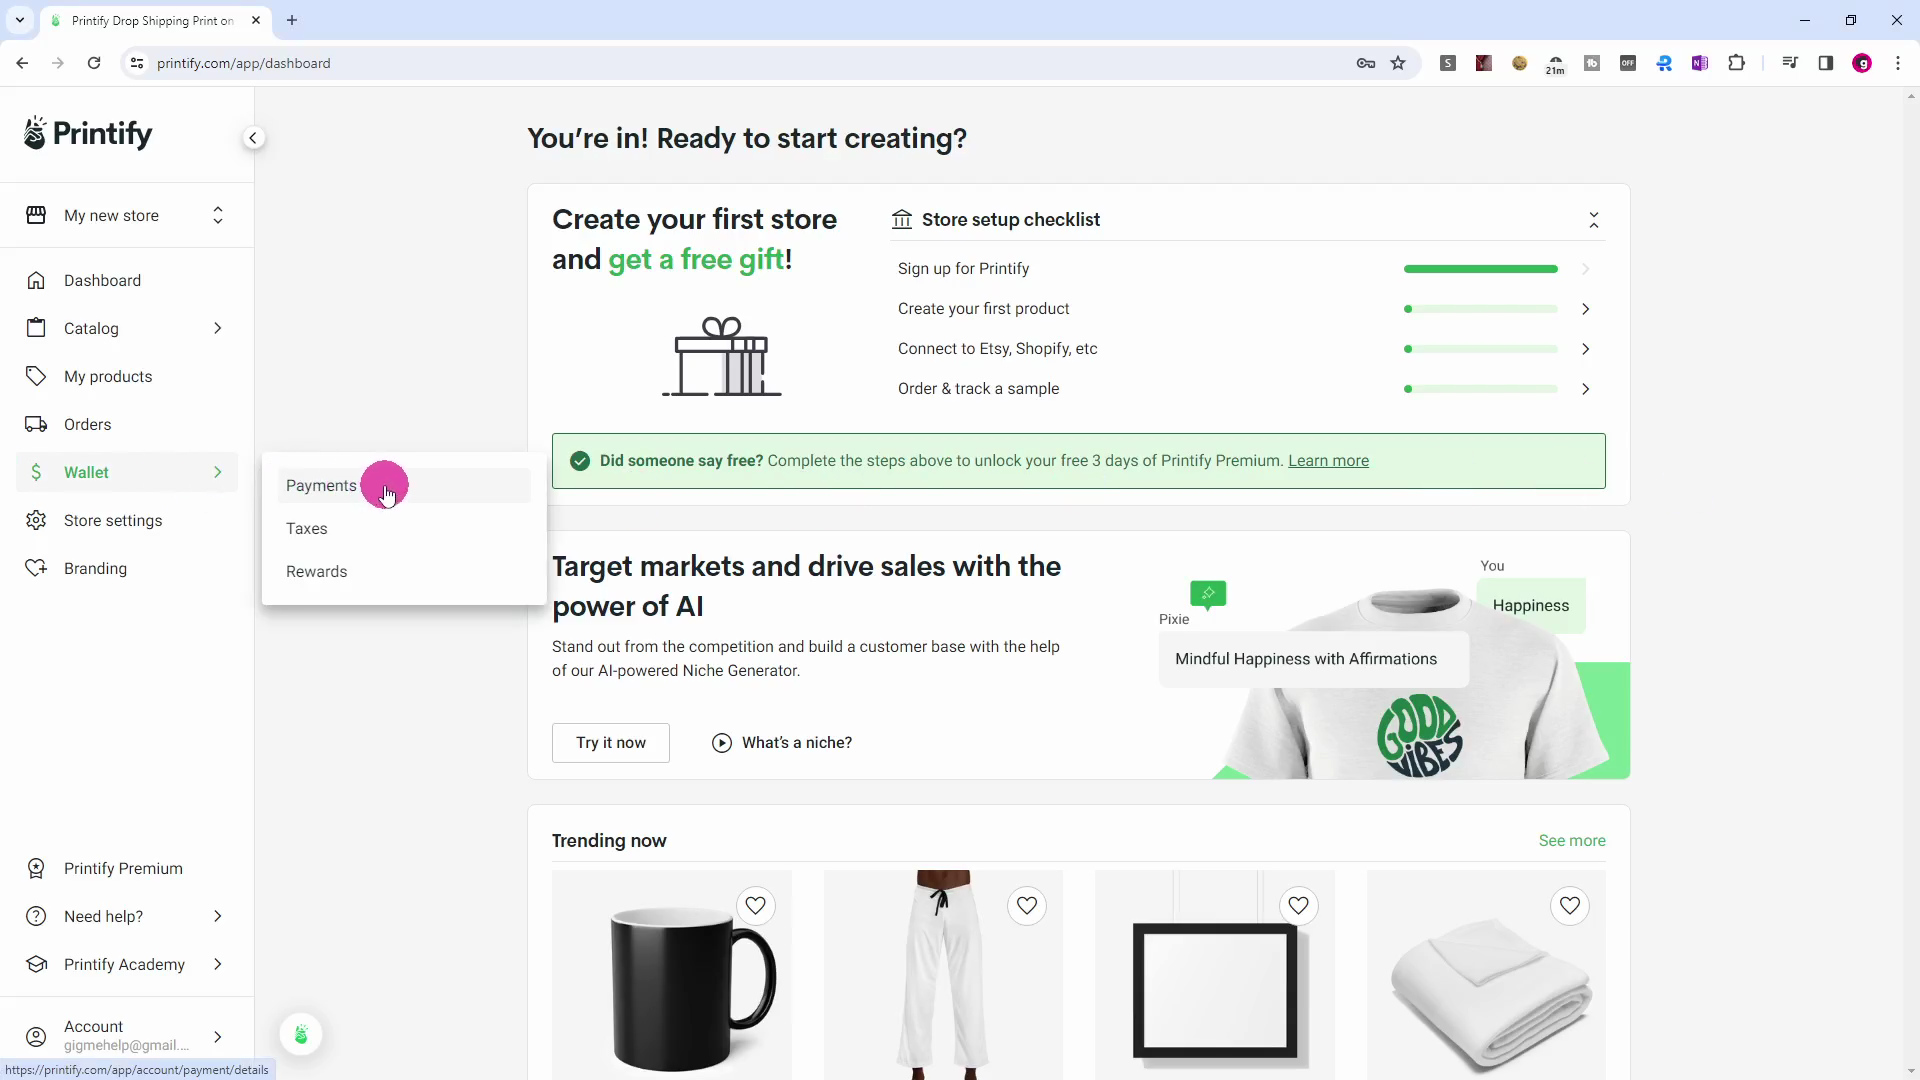
Click the Wallet menu item, followed by Payments.
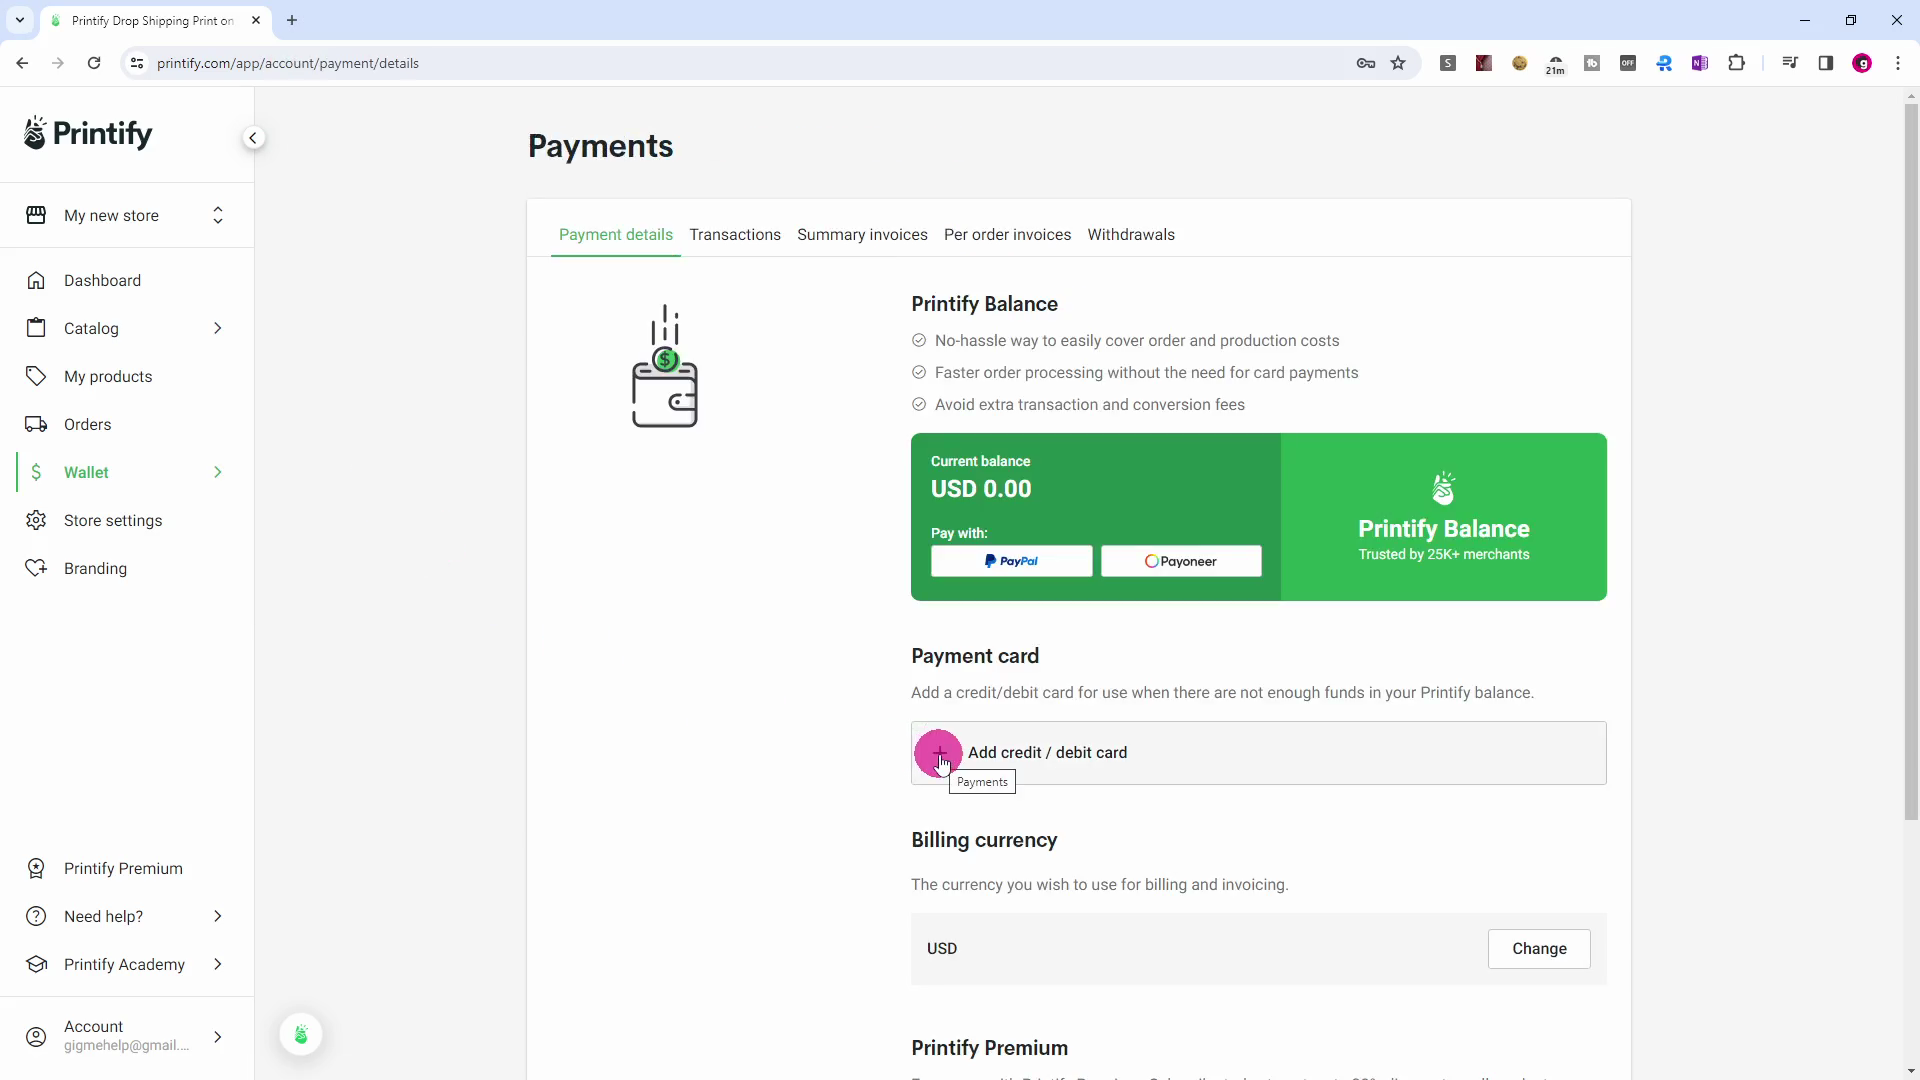
Click on 'Add credit / debit card.

Enter your details:
Card number, Expiry date, CVV, Cardholder name, Country, Region, Address 1, Address 2 (optional), City, and ZIP code (Postcode).
Click the 'Add card' button.

If your bank requires a verification procedure, follow the instructions.
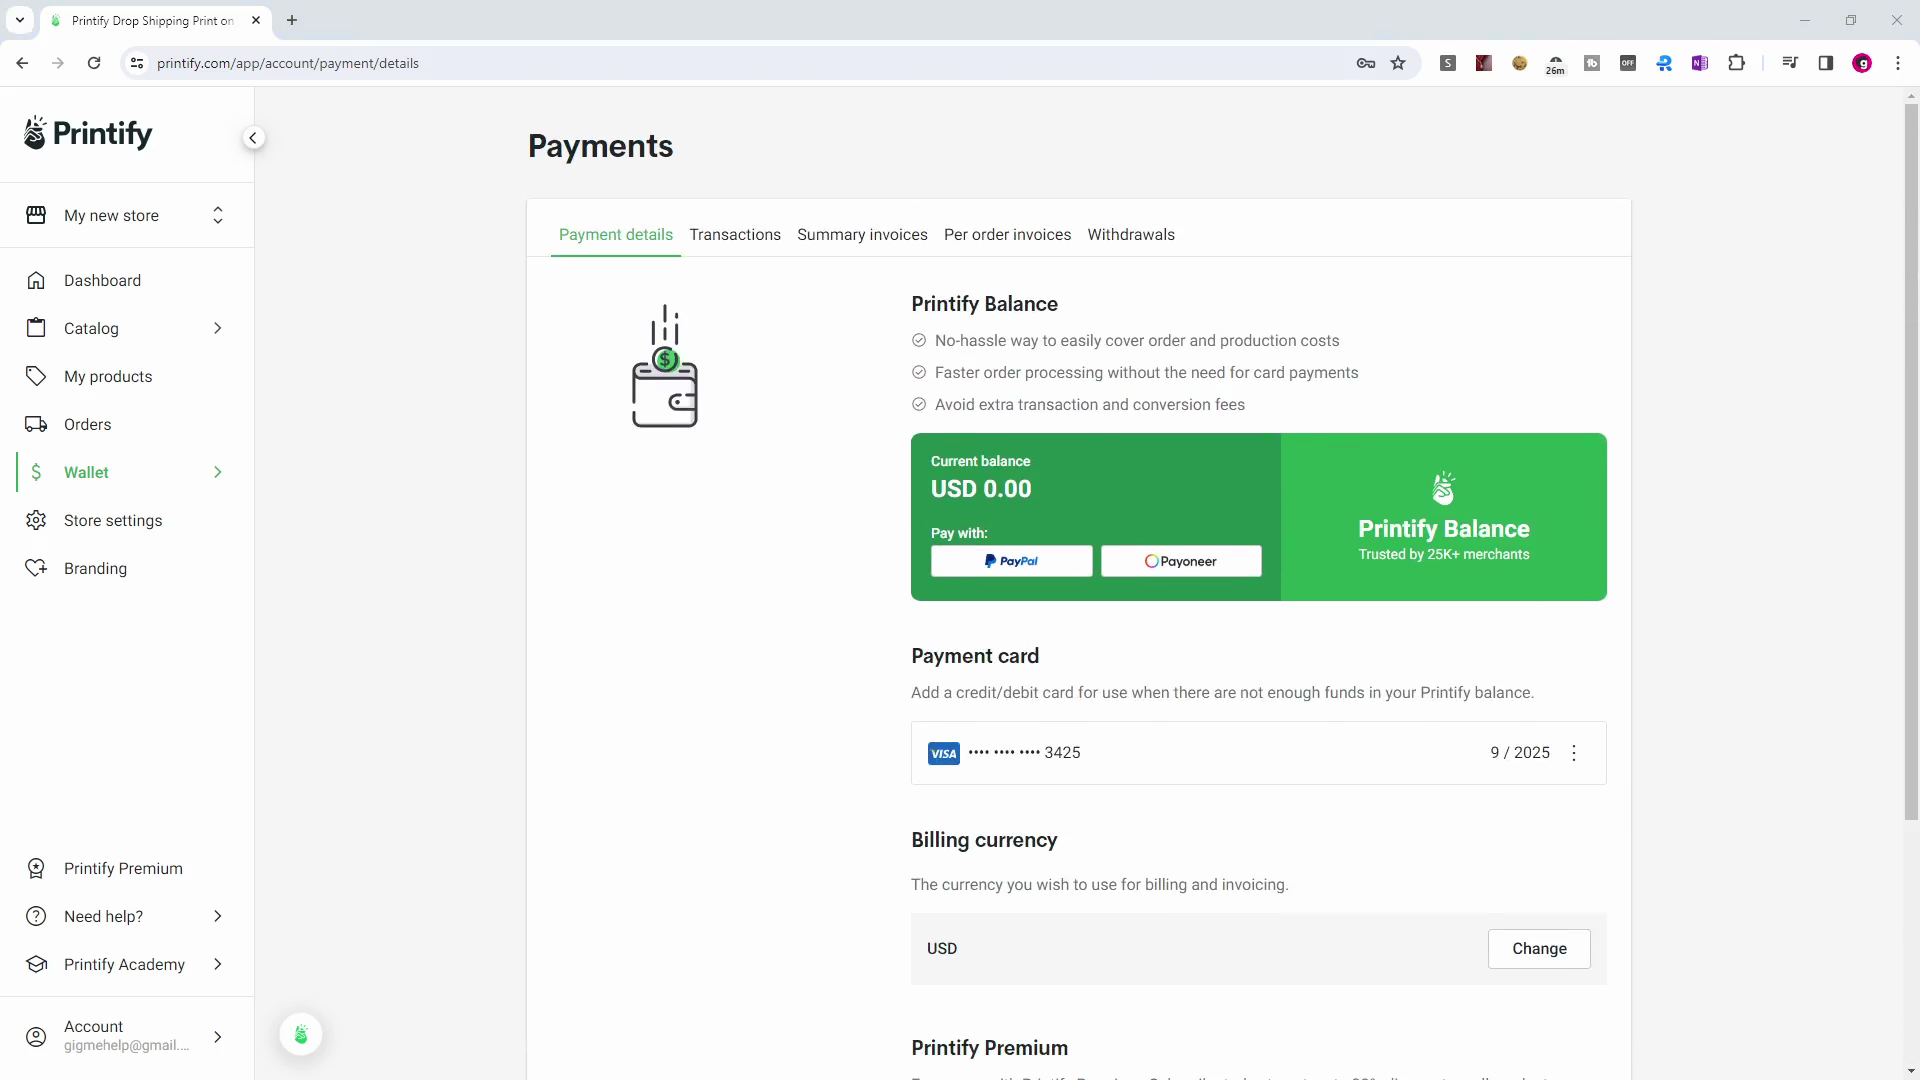
Your Payment details are set up.
Leave the Billing currency as USD.
Part 4 of 5 Store settings
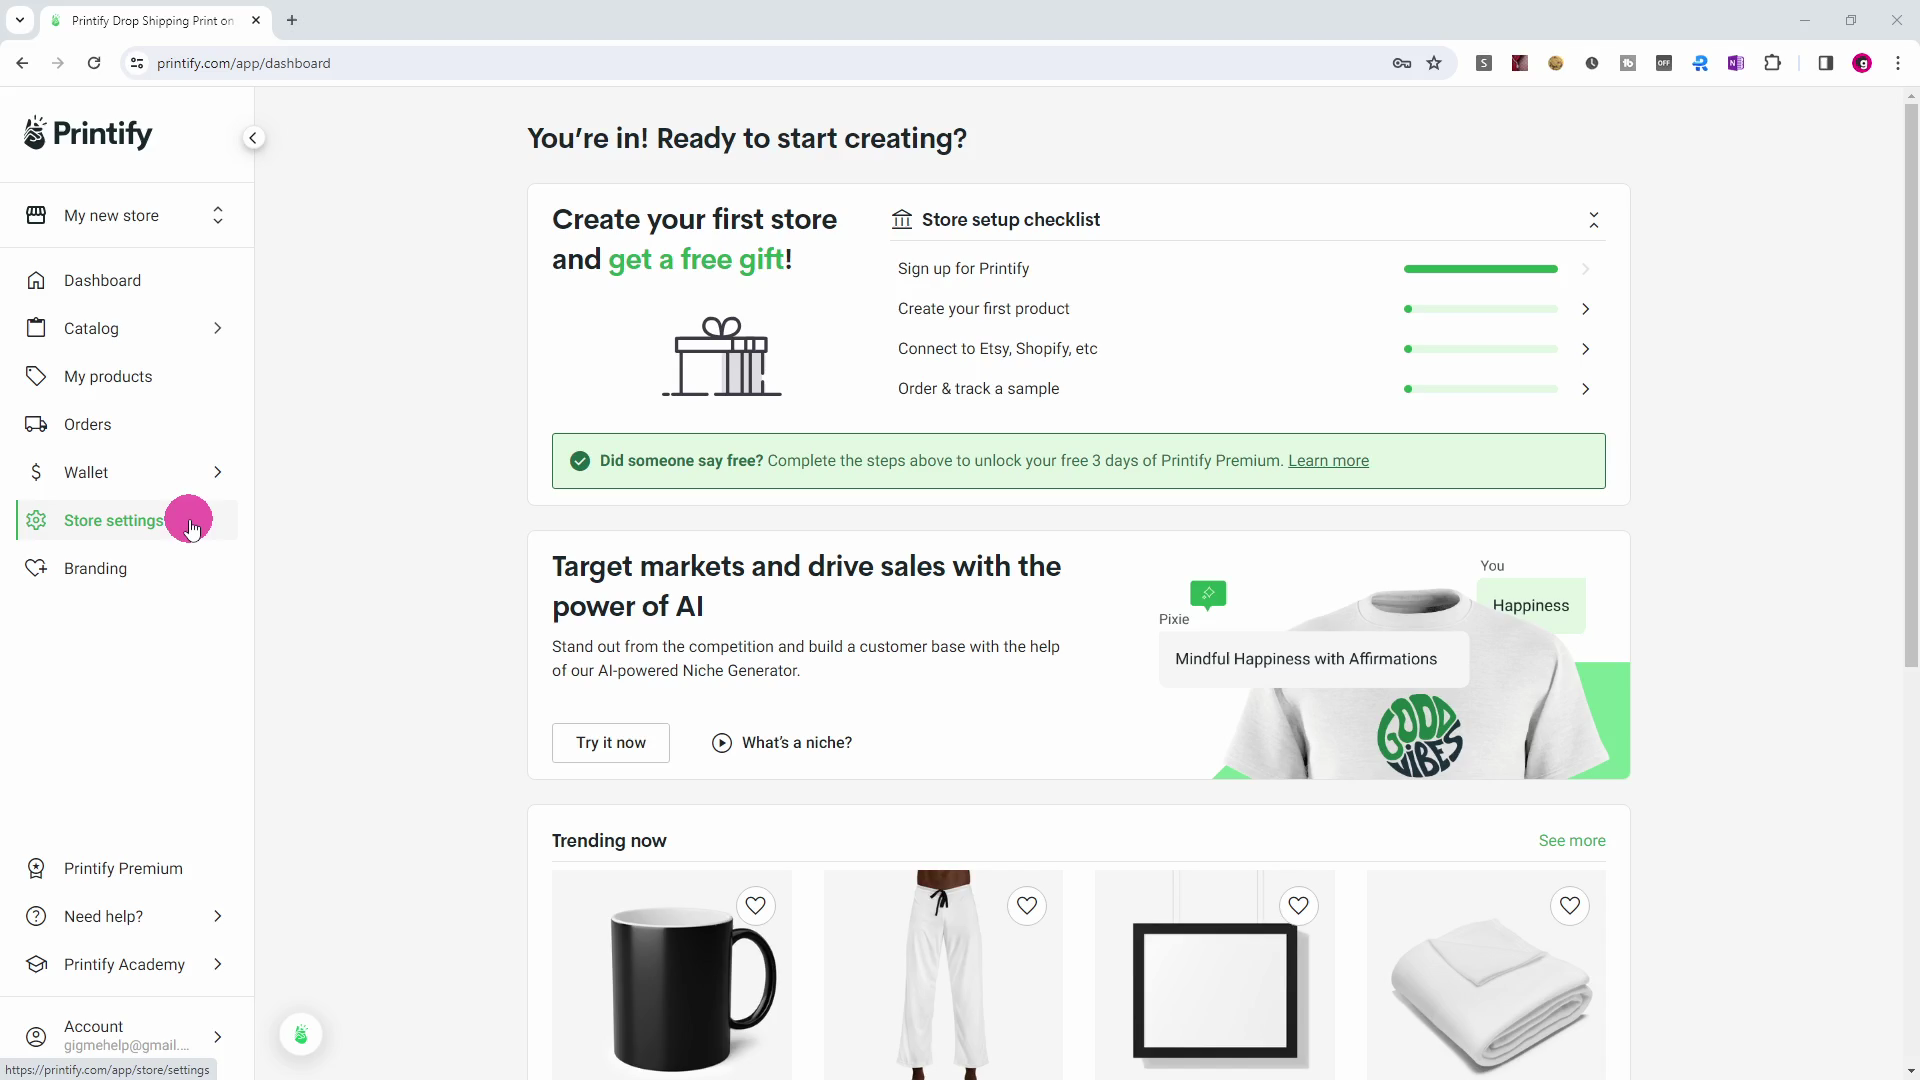
Click the Store settings menu item.
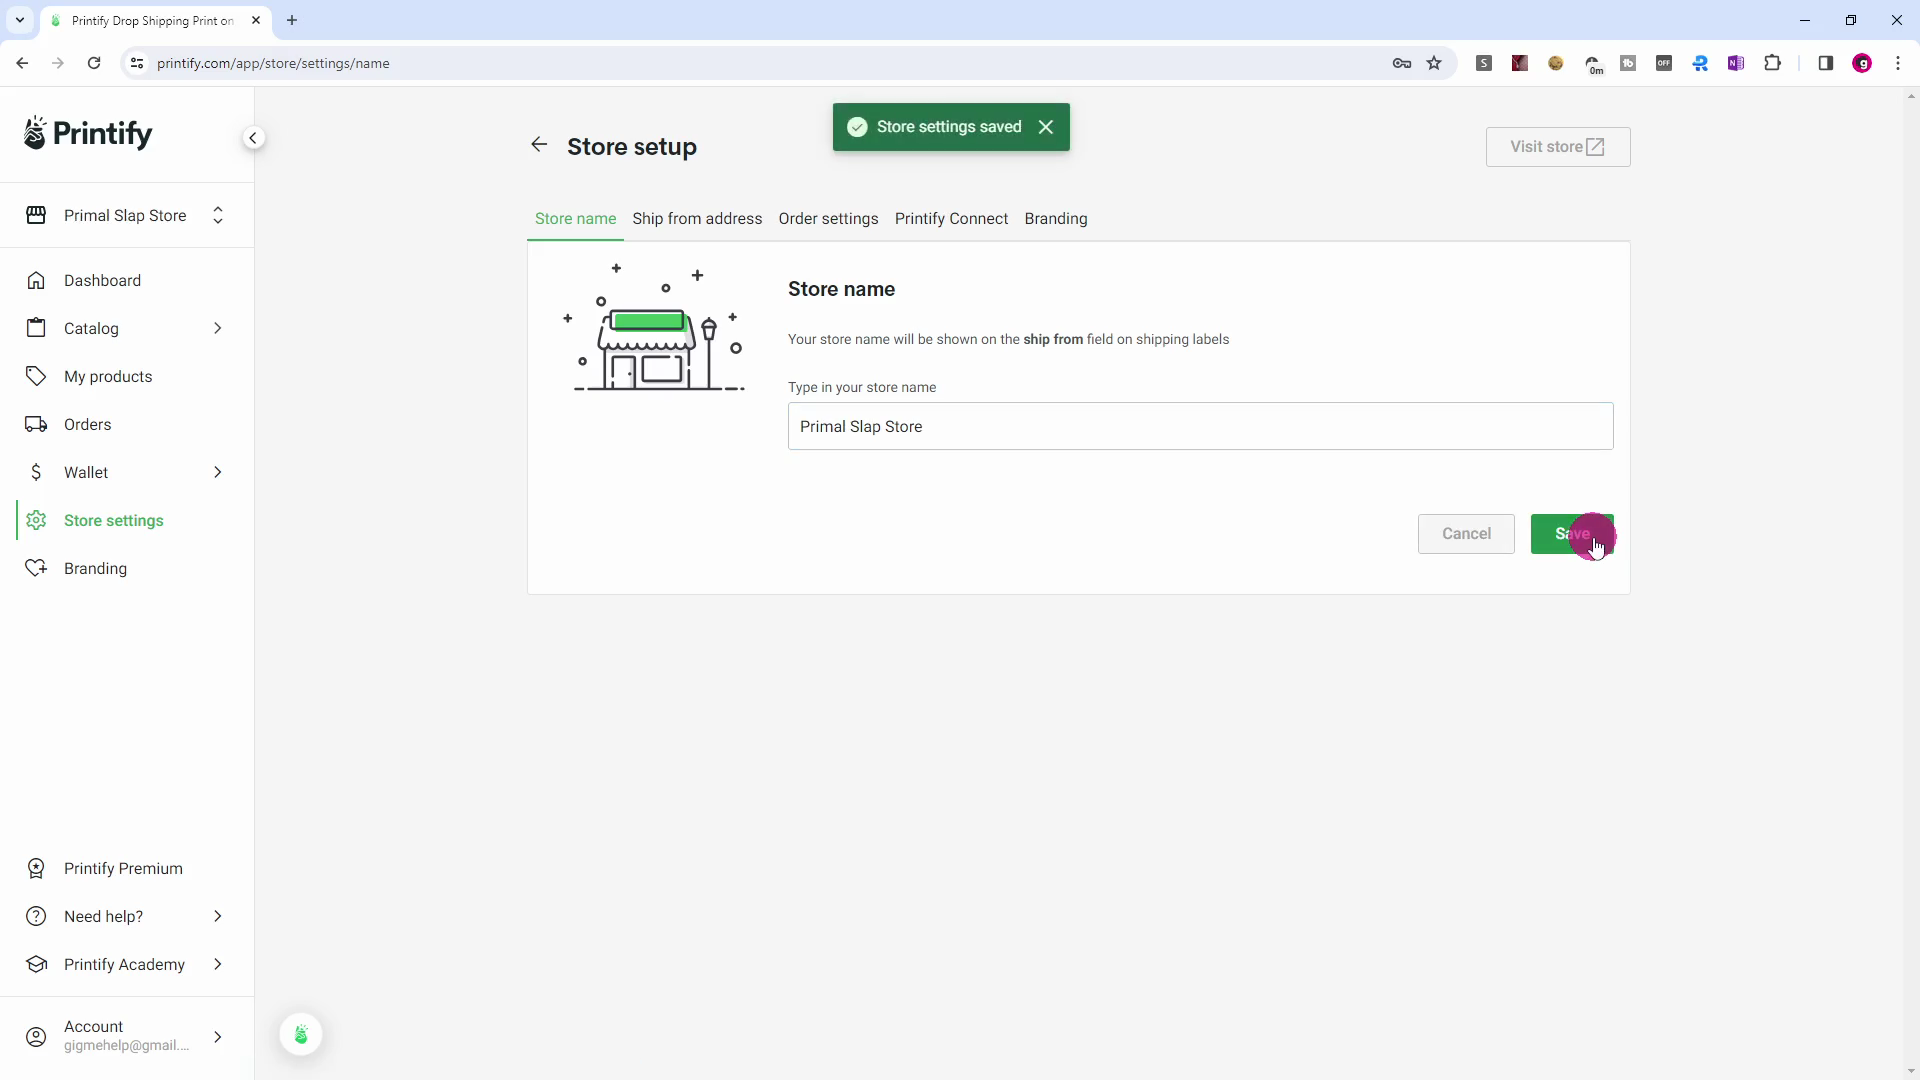
Enter your chosen store name, (this name will appear in GigMe), and click the Save button.
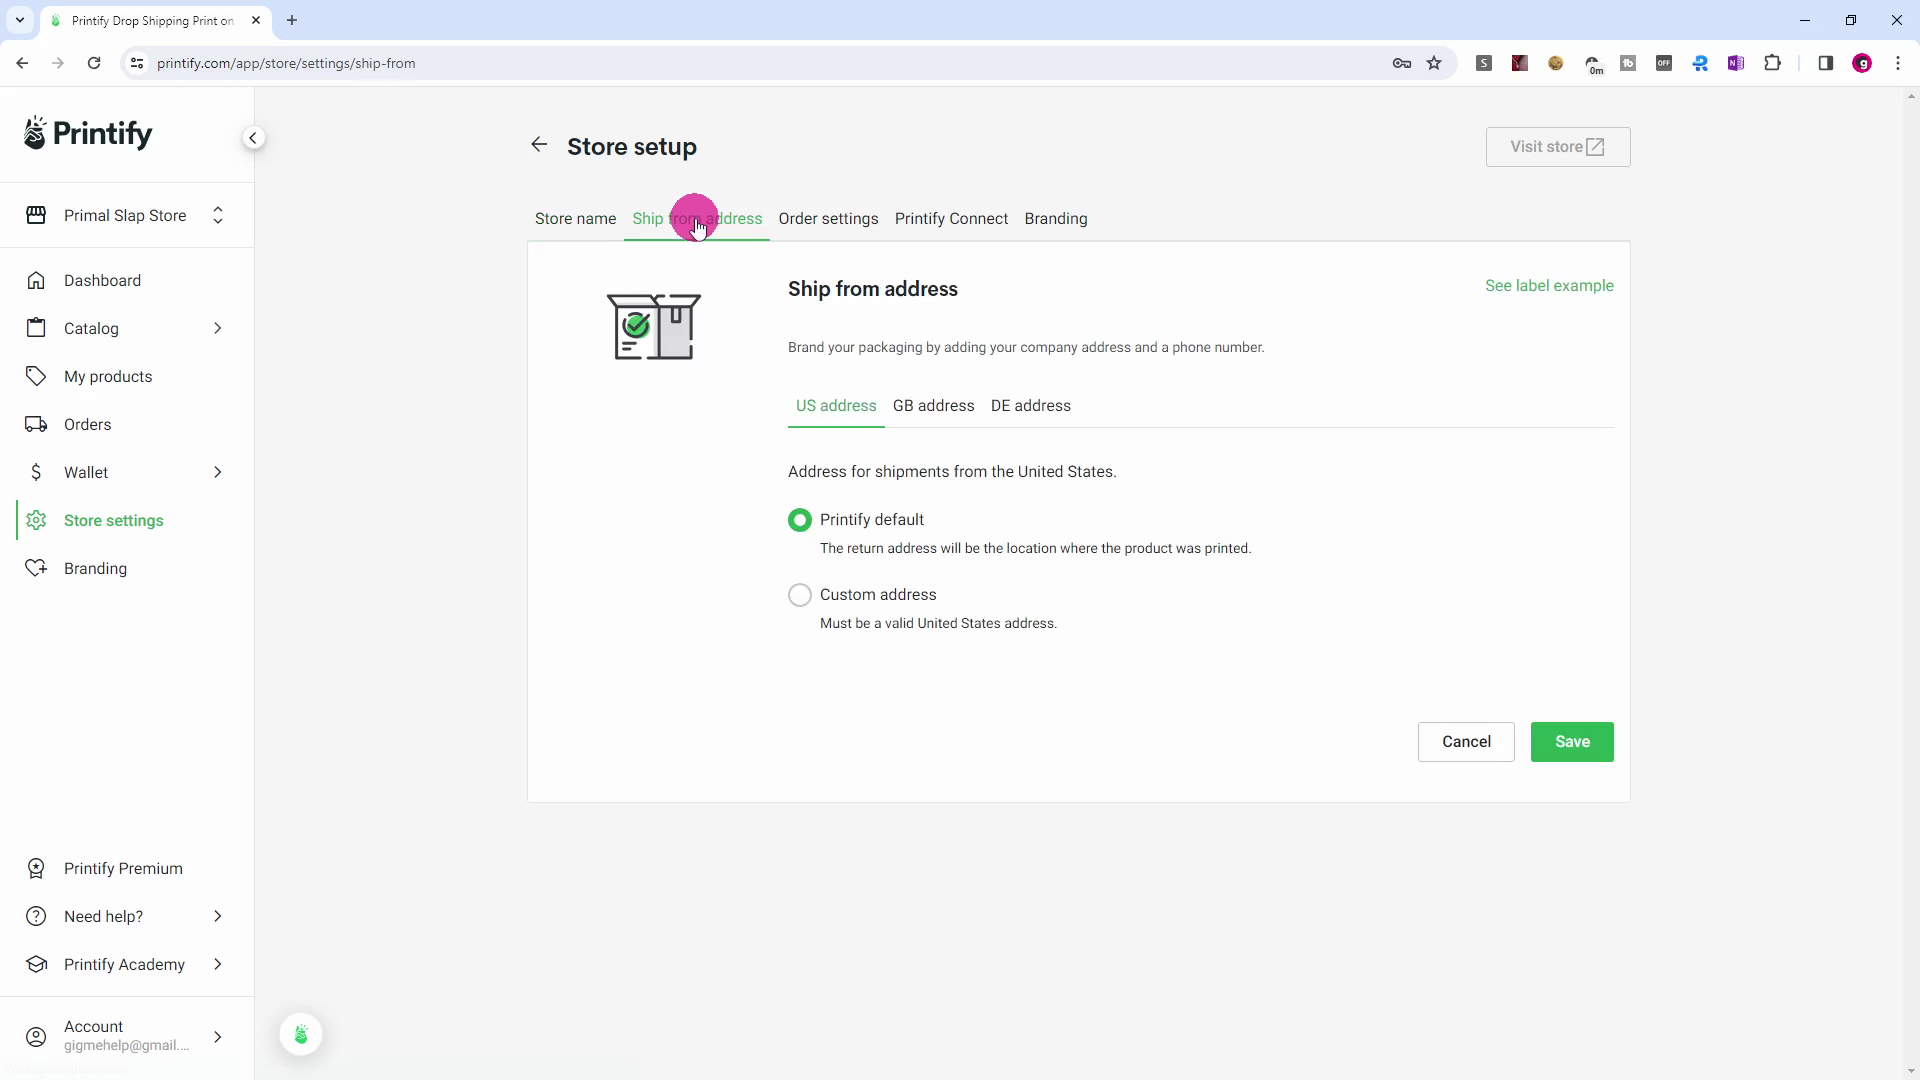
Click the 'Ship from address' tab.

Click the 'GB address' tab.
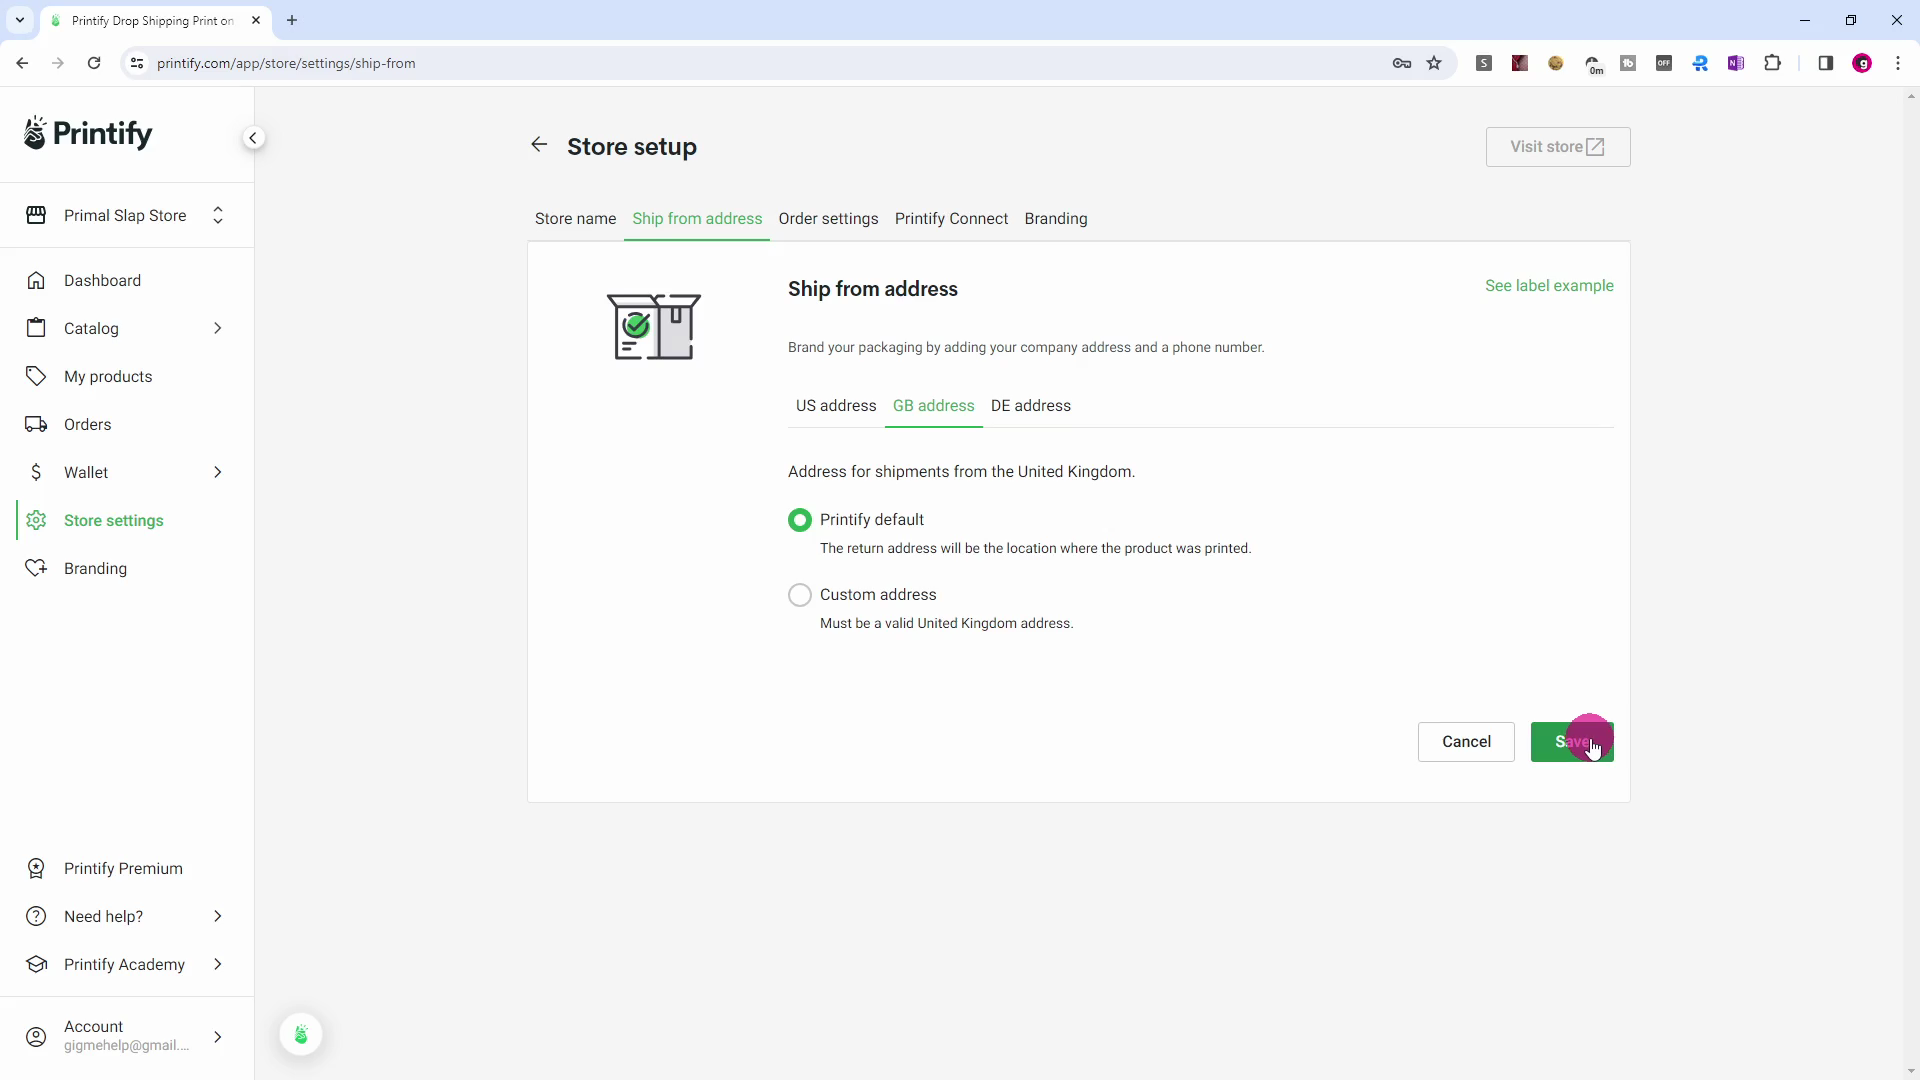
Make sure 'Printify default' is selected.
Click the Save button.
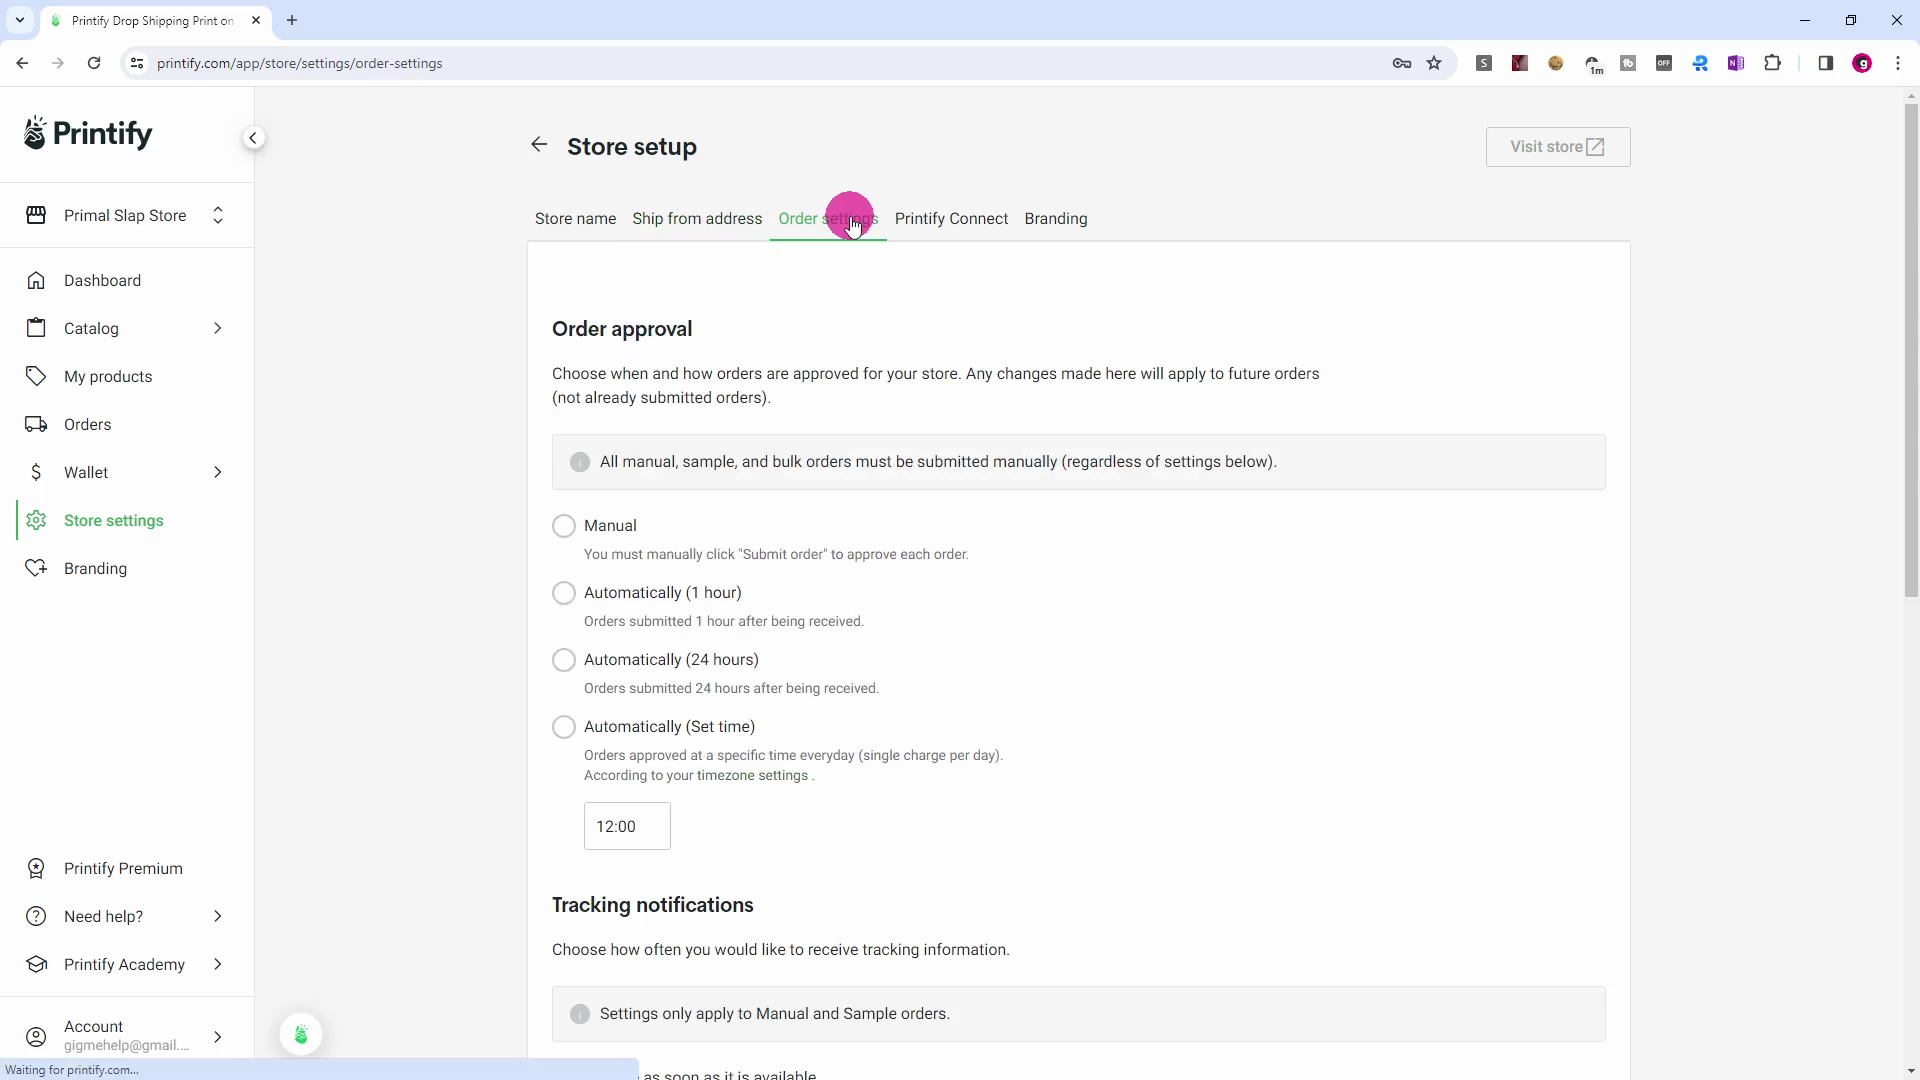
Click the 'Order settings' tab.
Scroll down past the Order Routing section, ensuring the 'Enable order routing' checkbox is NOT ticked.

In the Order approval section, select 'Automatically (24 hours)'. This selection ensures that the payment has had ample time to arrive in your account before Printify attempts to collect its monies for the order.
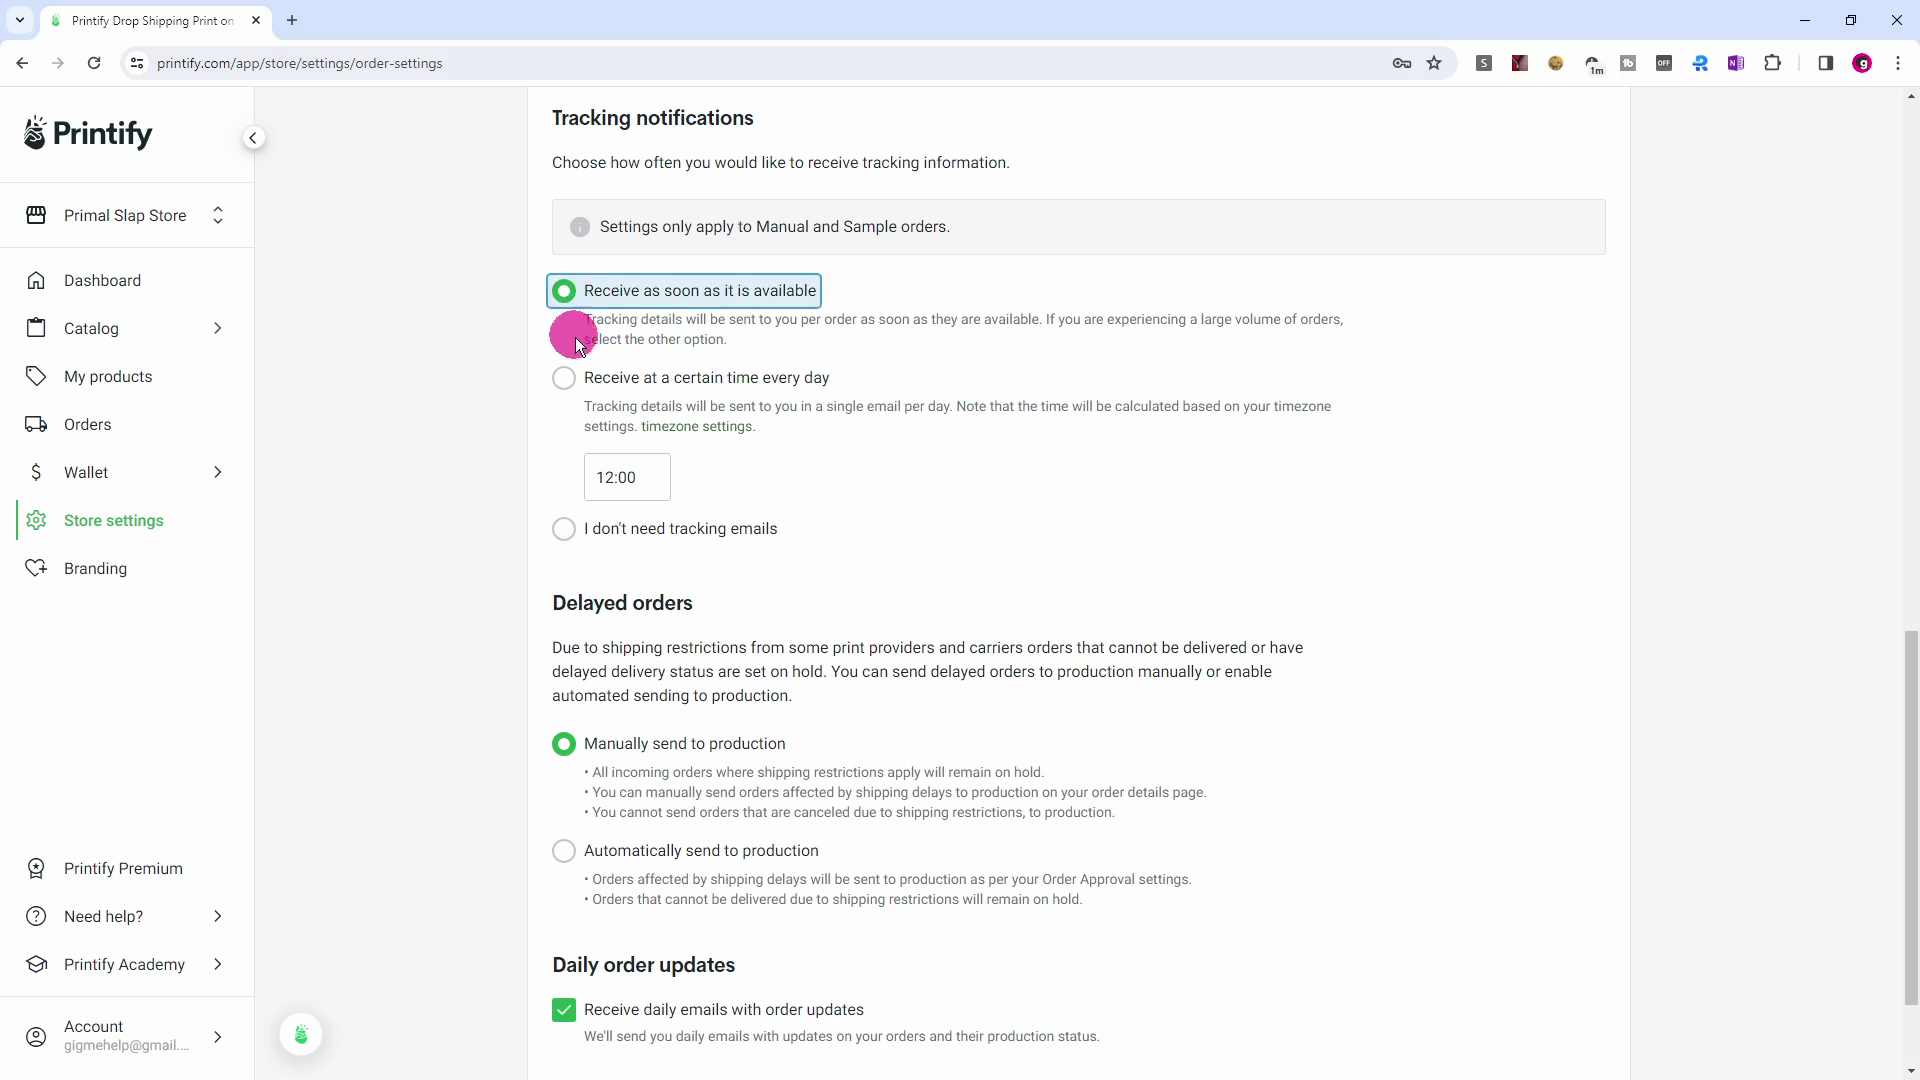
In the Tracking notifications section, select 'Receive as soon as it is avalable'.
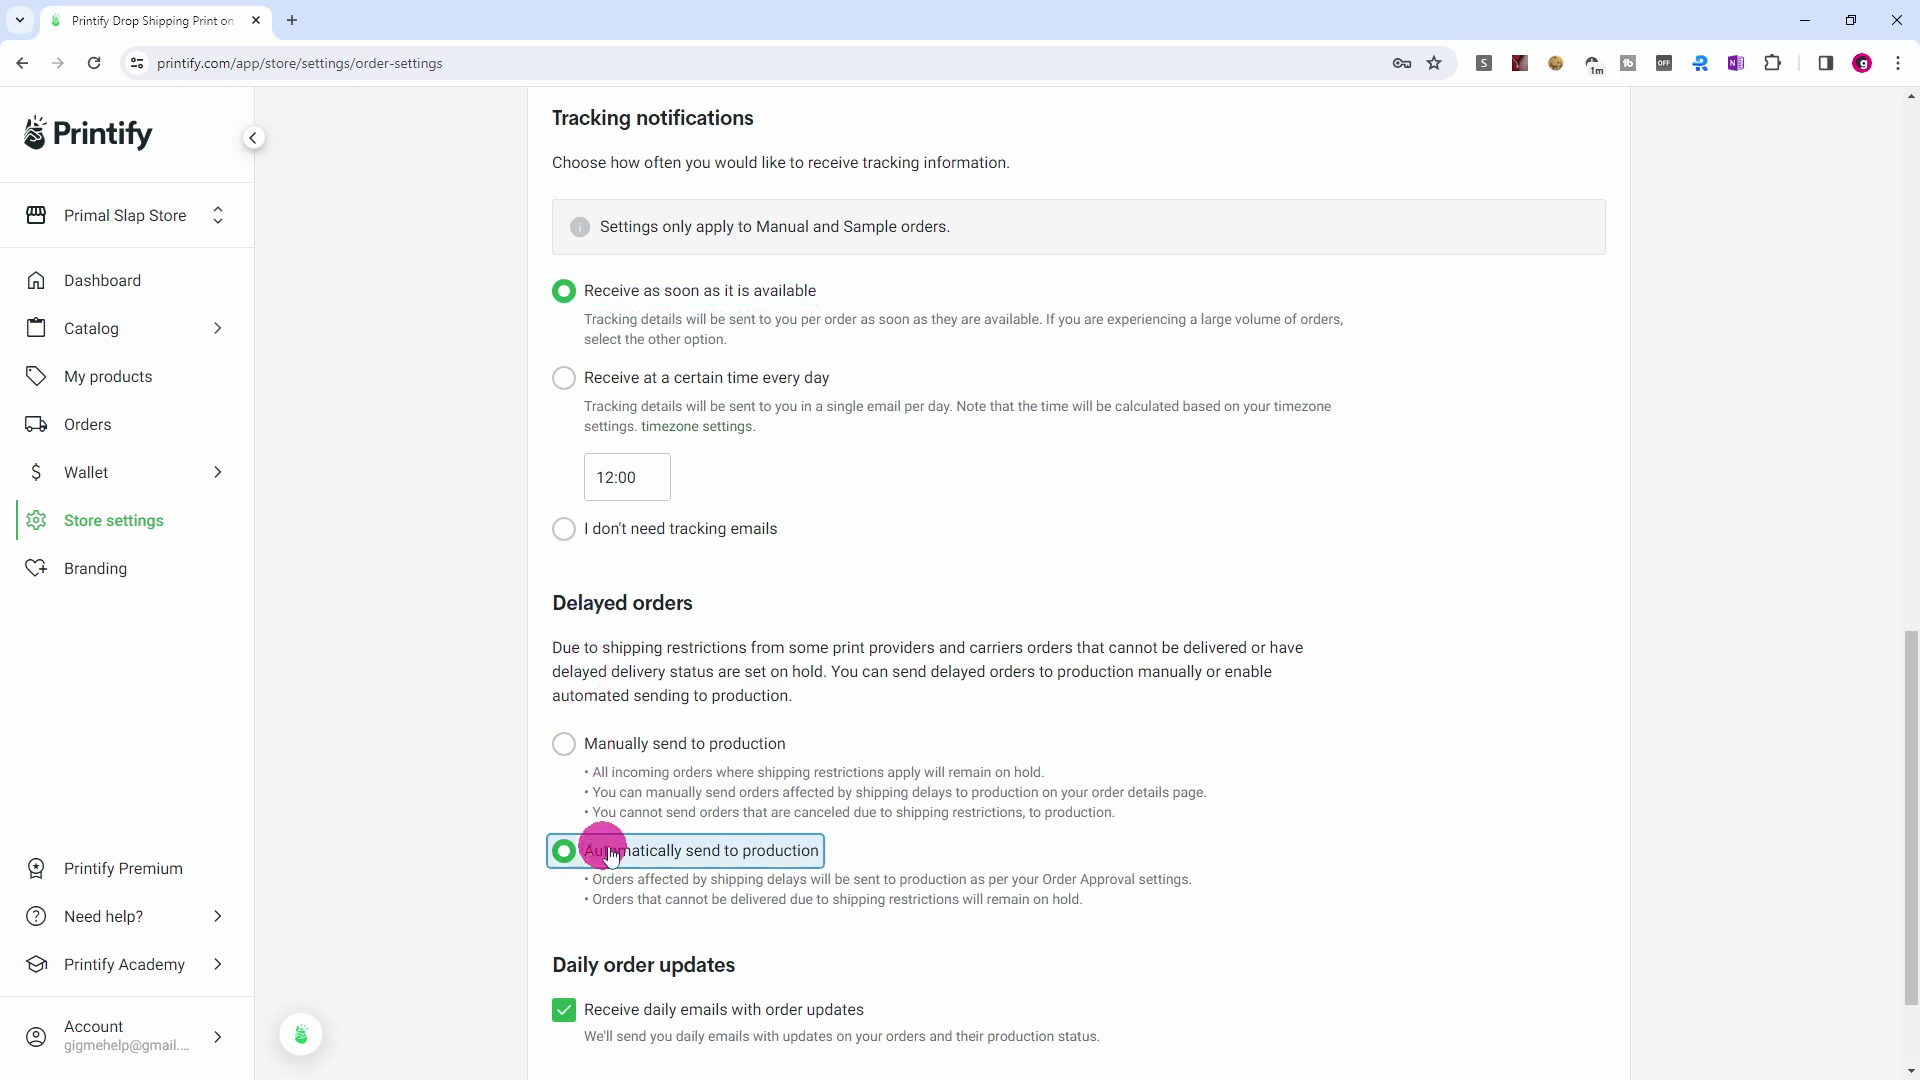
In the Delayed orders section, select 'Automatically send to production'.
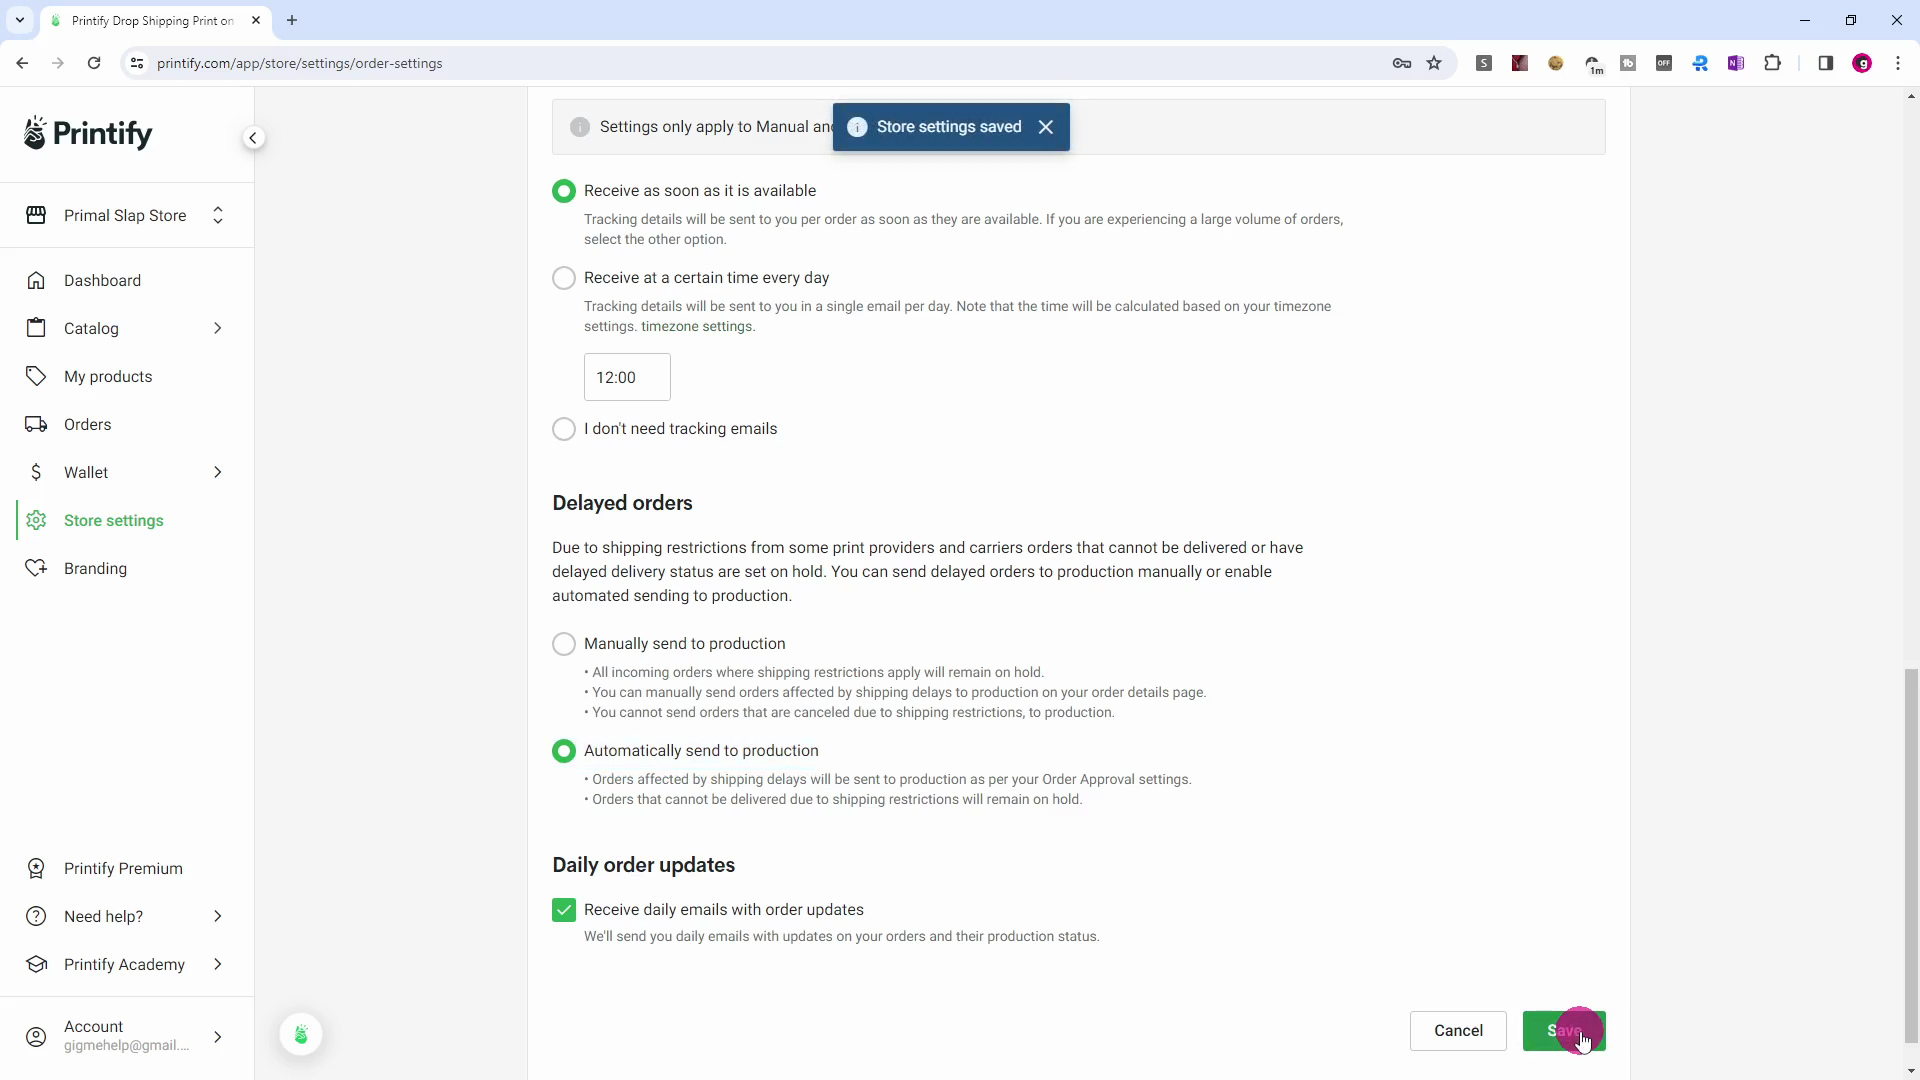
In the Daily order updates section, leave the 'Receive daily emails with order updates' checkbox ticked (for now).
Click the Save button.
Part 5 of 5 Connect Store

Click the 'Your Store Name' menu item, followed by 'Manage my stores'.
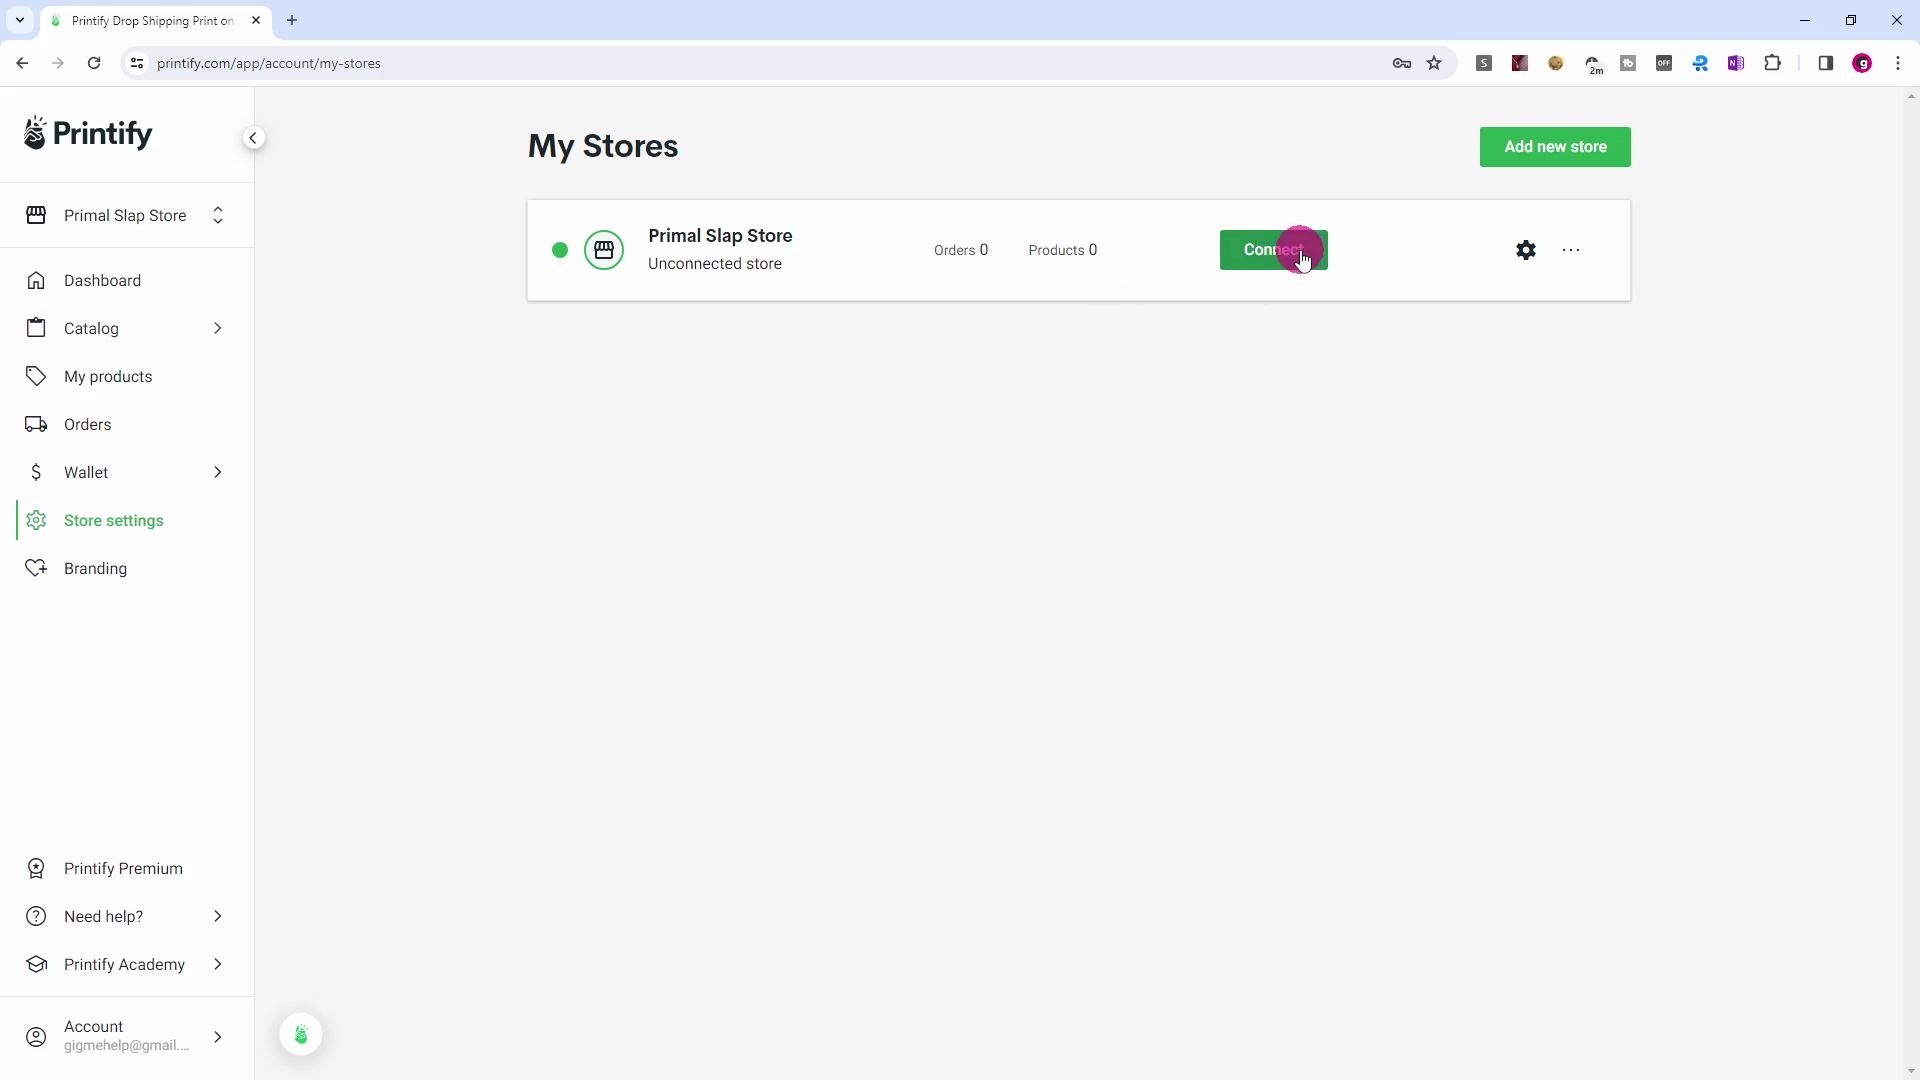
Click the Connect button.

Click the 'API' button.
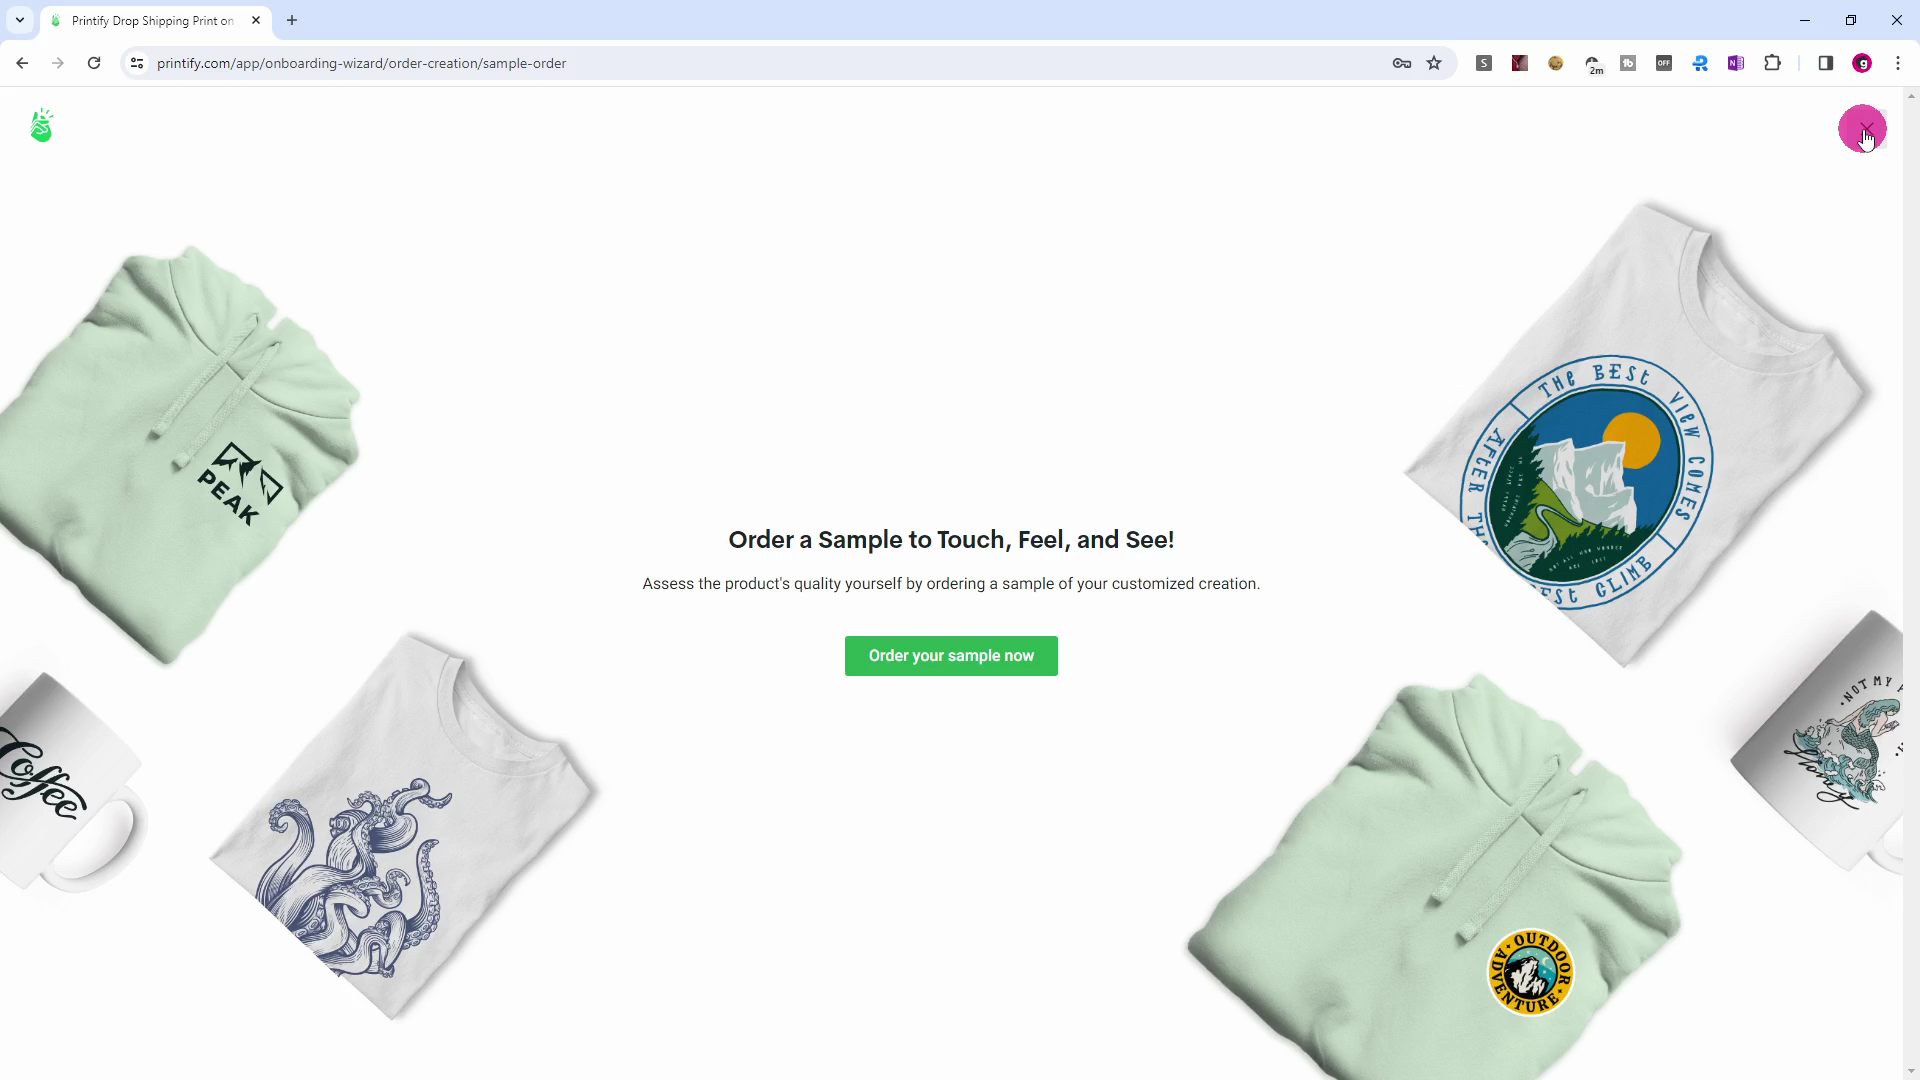
Click the cross ❌ (close) symbol.

Your store is now ready to be linked to GigMe.