
Create Printify Products
This is the lastest video from Printify.
You can also follow the steps below.

Uploading Files
Uploading is going to happen a lot, so lets get it worked out first.
From your dashboard, click the Account menu item, followed by My files.
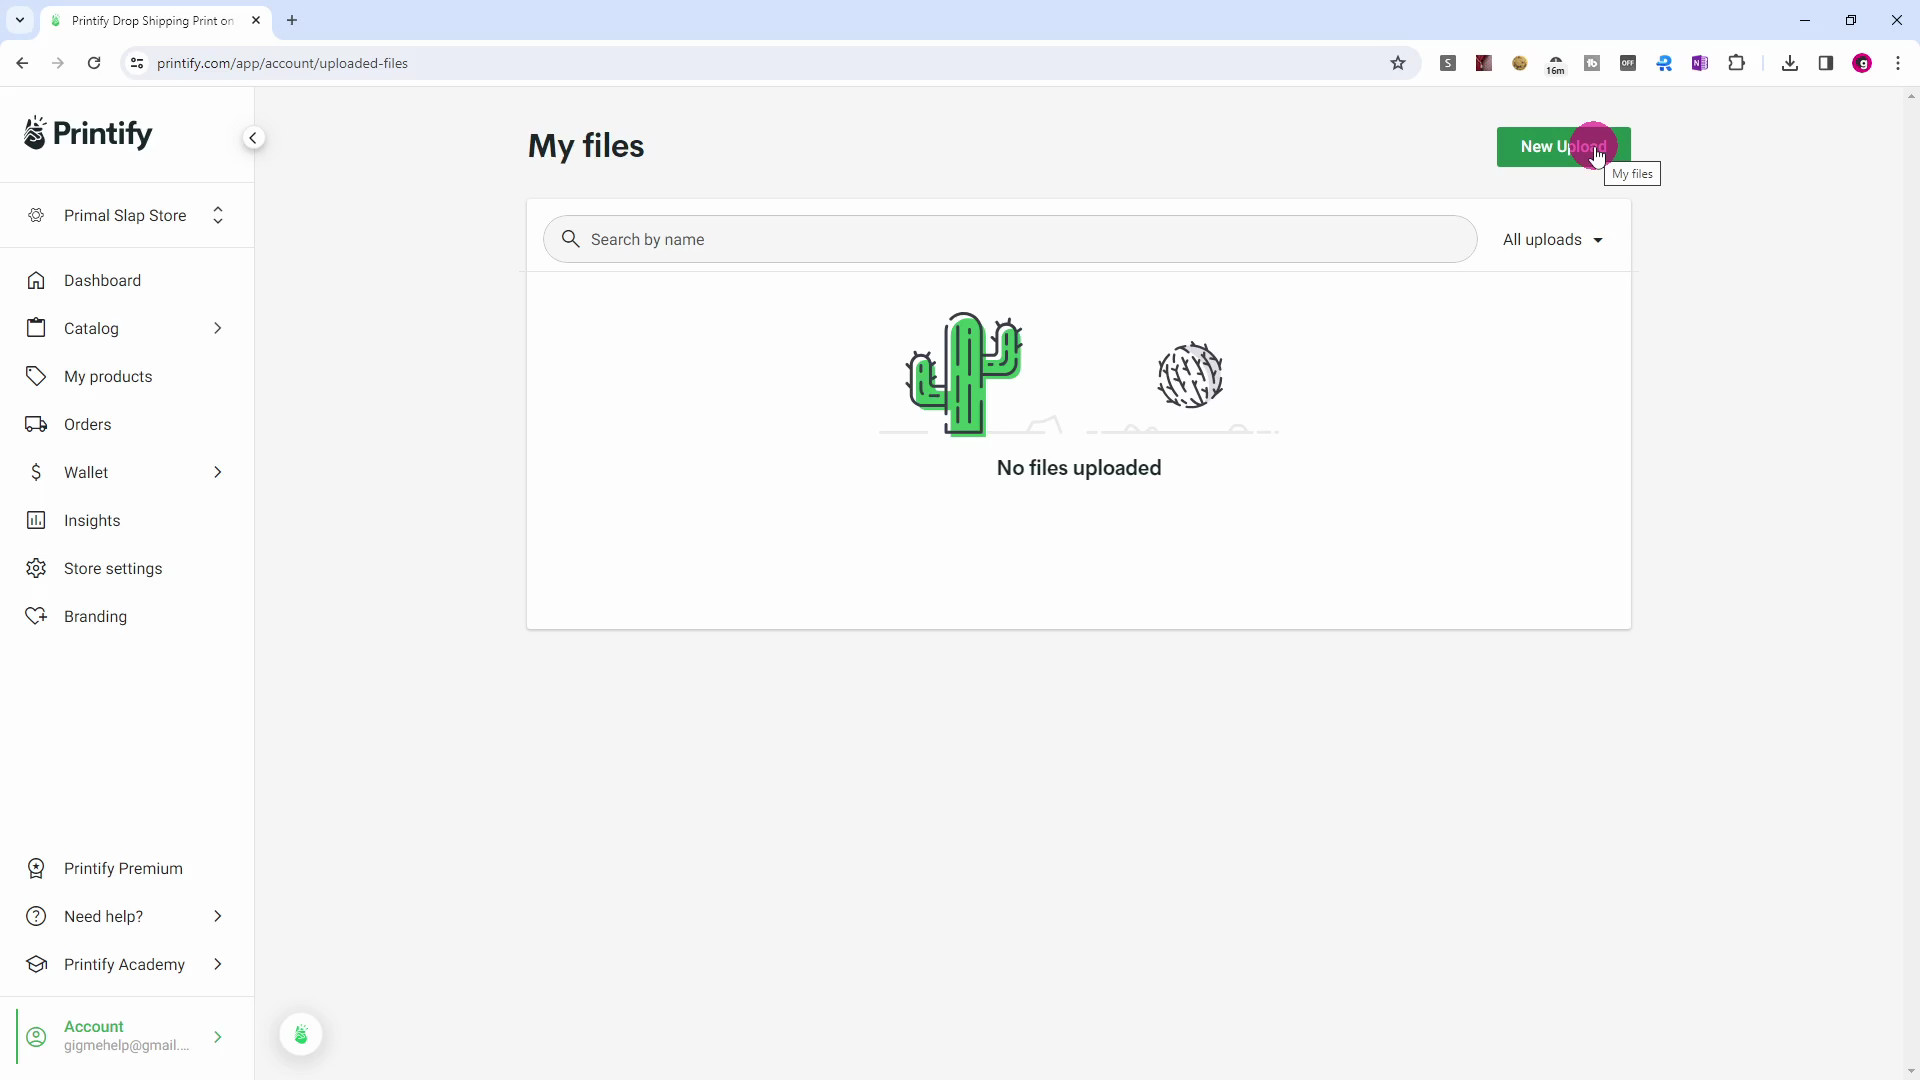
Click New Upload button.

Click the Upload from a device button, and a file chooser window will appear.

Select your file, (or files), click the Open button, and the upload will begin.
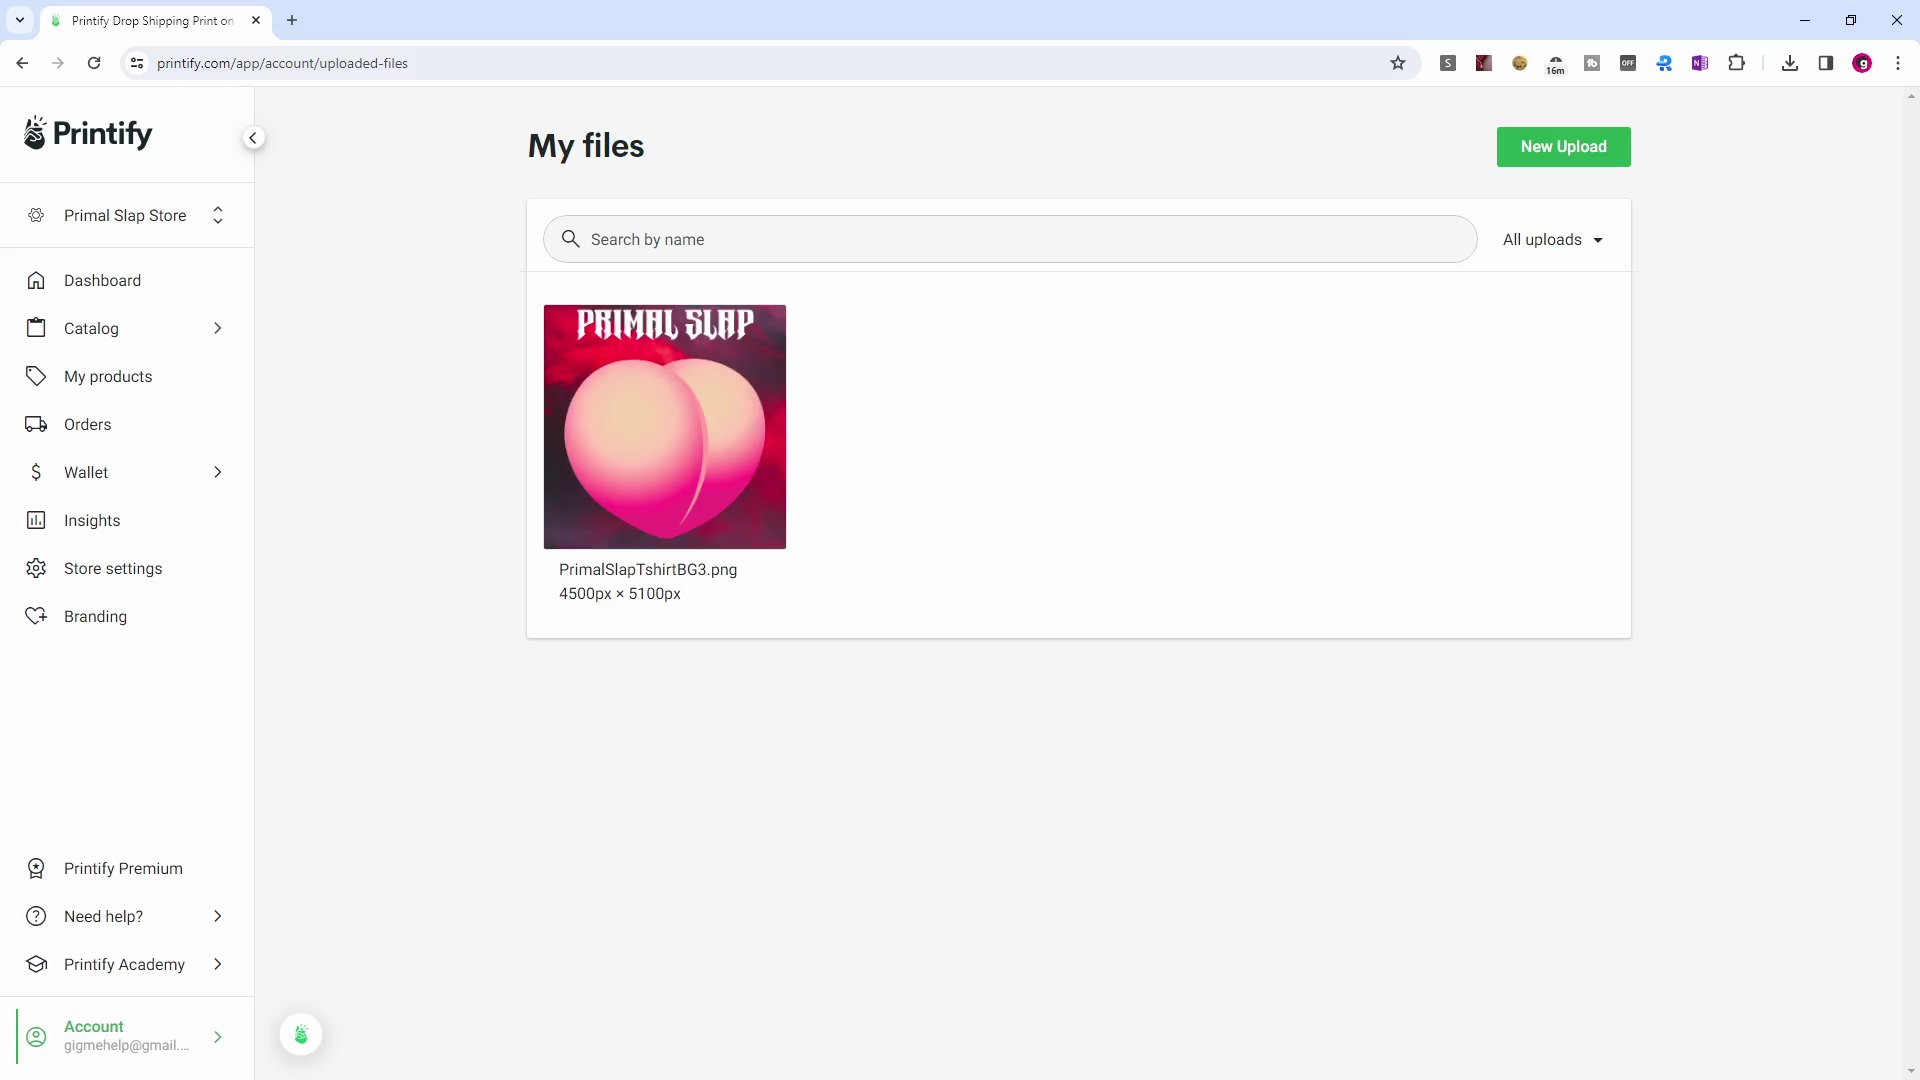
DONE.
High concept, in exquisite taste. A legendary t-shirt is about to be made...

Designing your Product
From your dashboard, click the Catalog menu item, followed by T-shirts.

Click on your chosen T-shirt.
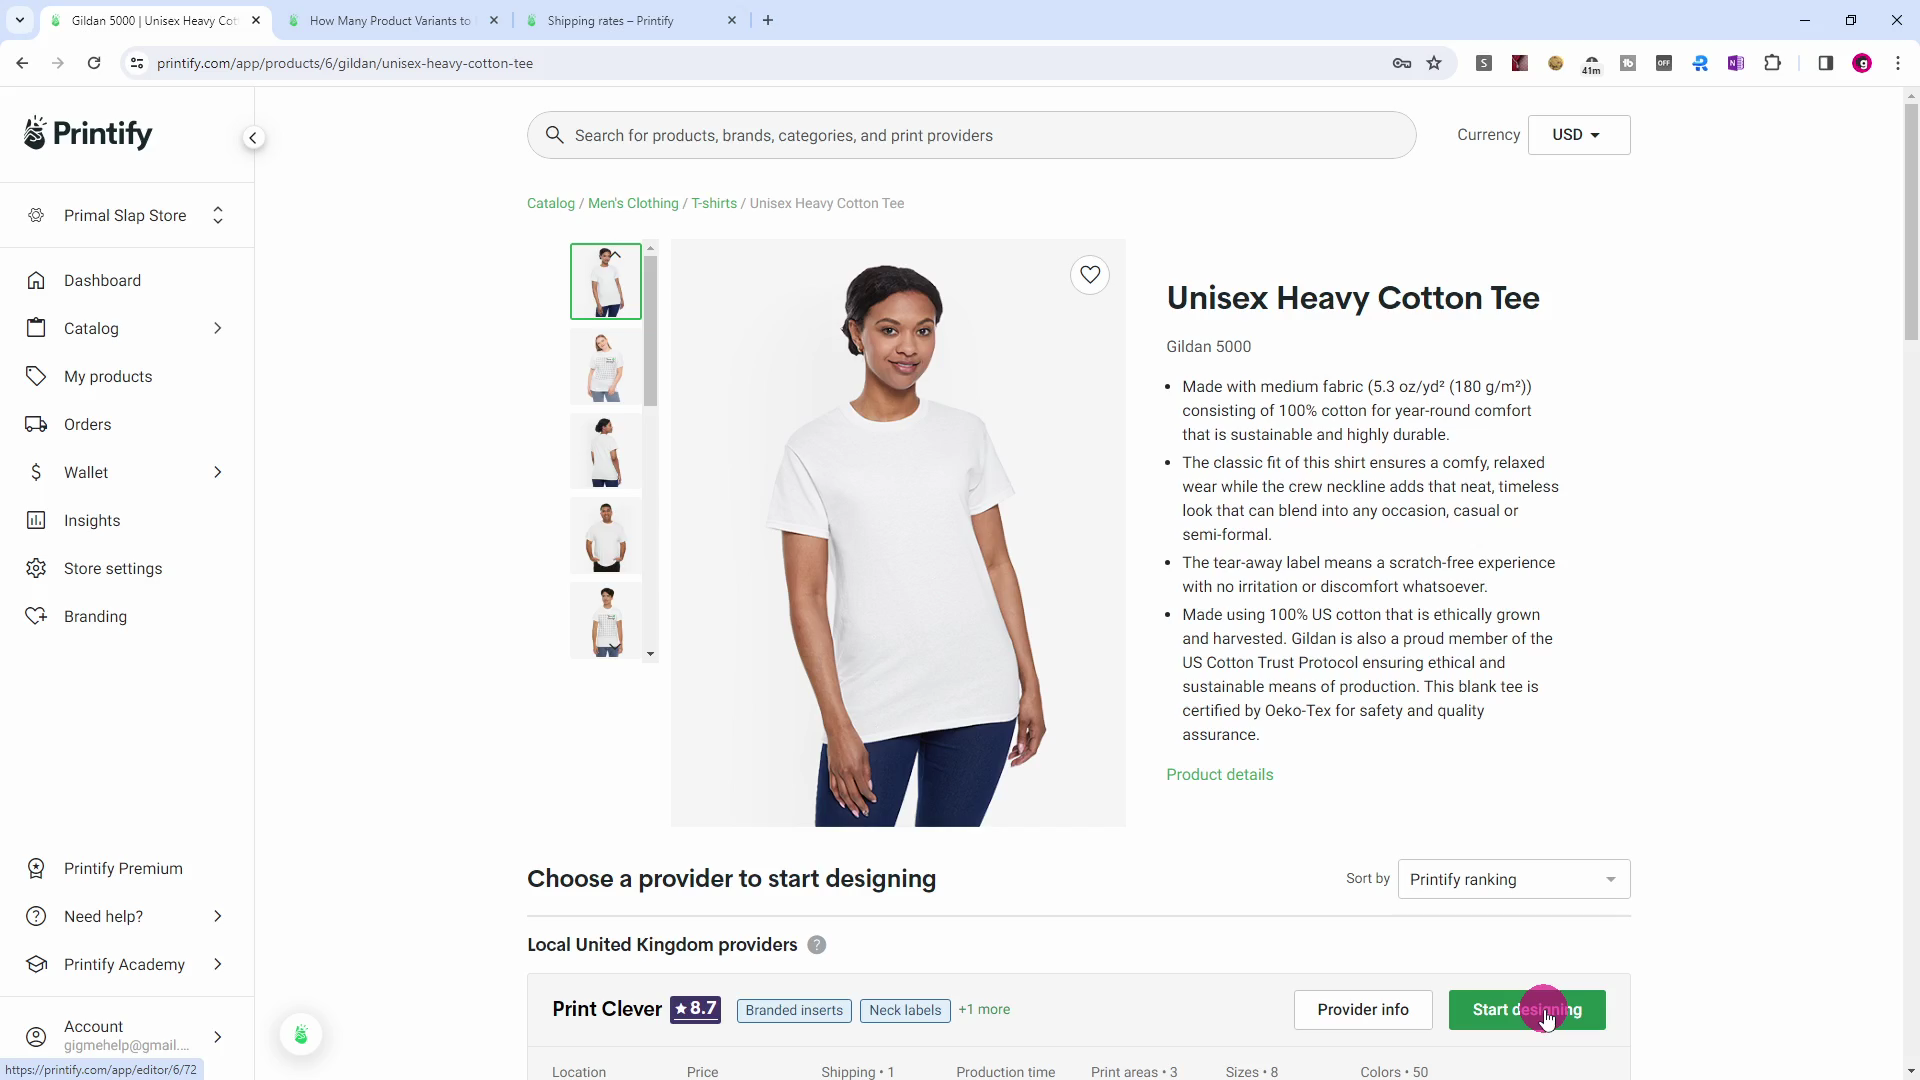
Click the Start designing button.

Click the My library buttton, followed by your artwork selection.
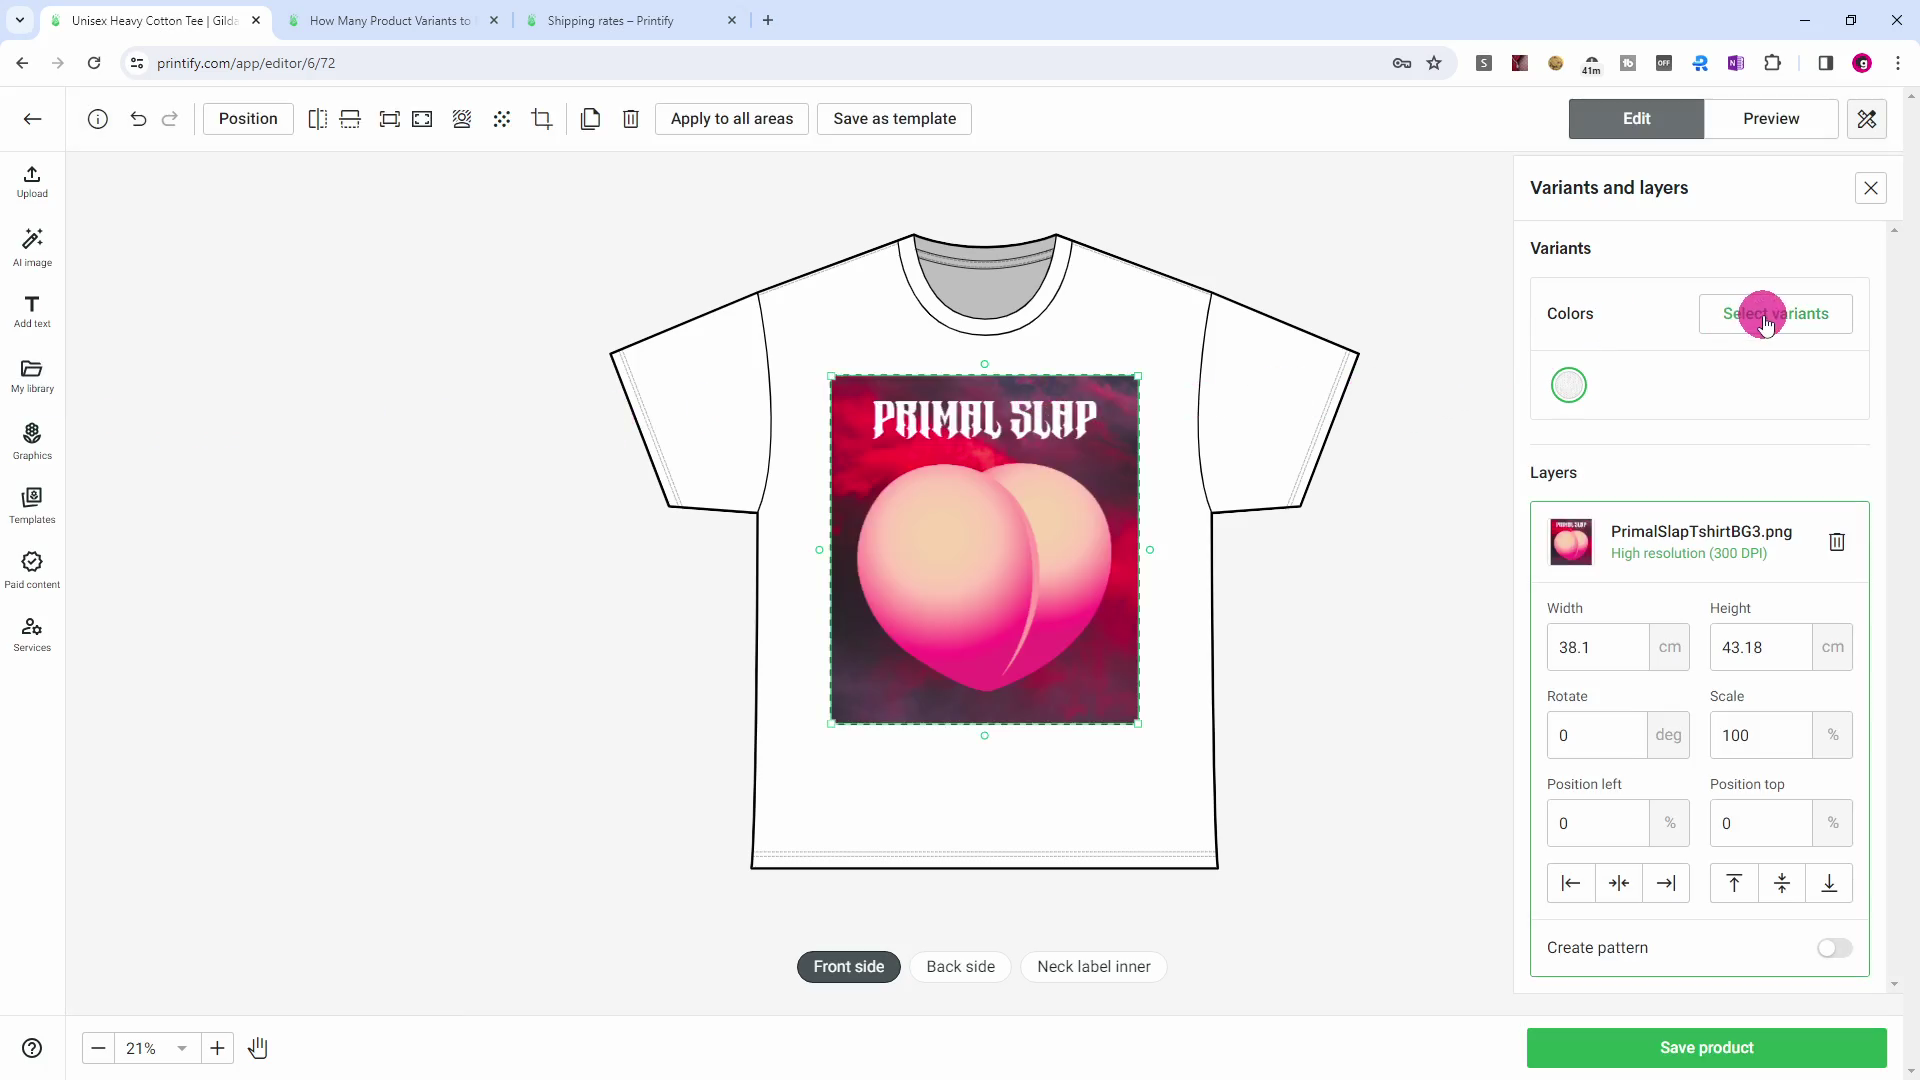
Check on your variants by clicking the Select variants button.

In Printify Terminology, a Variant is a combination of the available Options.
In this example, we have two Options: Color, and Size.
We have chosen only White for the T-shirt Color, so the number of Variants is 1 x the number of Sizes.

Click on the Size tab, where you can select or de-select the Sizes you wish to offer.

Different products have a variety of places where you can place your artwork. This T-shirt permits printing on the Back side...

... and on the Neck label inner. You can choose whether to do this or not.

When you are happy with everything, (and you have perhaps used the Preview button - top right), click the Save product button.

Specify your Listing
Select an image to be your default (first to be displayed) image.

You can edit the Product title and description in any way you like.

Specify your Price(s)
You can select all of the variants, some of them, or just one at a time. Take care though - this is where your profits are set.
Currency
As Printify operates internationally, all prices are set in US Dollars (USD), regardless of any different currency which may be displayed.
In GigMe Merch pages, an approximate GBP price is listed alongside the USD price using a rate obtained overnight from https://openexchangerates.org
GigMe Transaction Charge
GigMe charges just $0.95 (95 US cents) per transaction in the App. Make sure to allow for this in your pricing.
Note. If a customer buys one item or many items, the charge is still just $0.95 (95 US cents) if the items are purchased at the same time.

IMPORTANT VAT INFO!
In the UK, VAT (currently 20%), is added to the Production cost you see in the Pricing table (scroll right to see it). Printify is OBLIGED TO CHARGE IT, and this needs to be taken into consideration when arriving at your final retail price for your products*. Otherwise you may be a bit surprised when you see that 20% is missing from your profit!
* If you check out the "See in store" feature at the very bottom of this page, you will notice that, in the Product Summary, GigMe incorporates both the GigMe App Fee and VAT into the profit calculation.
Example: If your product has a Production cost of $5.00 then it will actually cost $5.00 + (5 times 20% = $1) or a total of $6.00.
Unless your turnover is going to be over £90,000 per year, (according to current VAT rules), you don't have to do any VAT accounting yourself. If it does go over £90,000/year, you will have to charge VAT yourself and do full VAT accounting. You can drop me an email about this at gigmehelp@outlook.com for advice.
You can edit the Price...
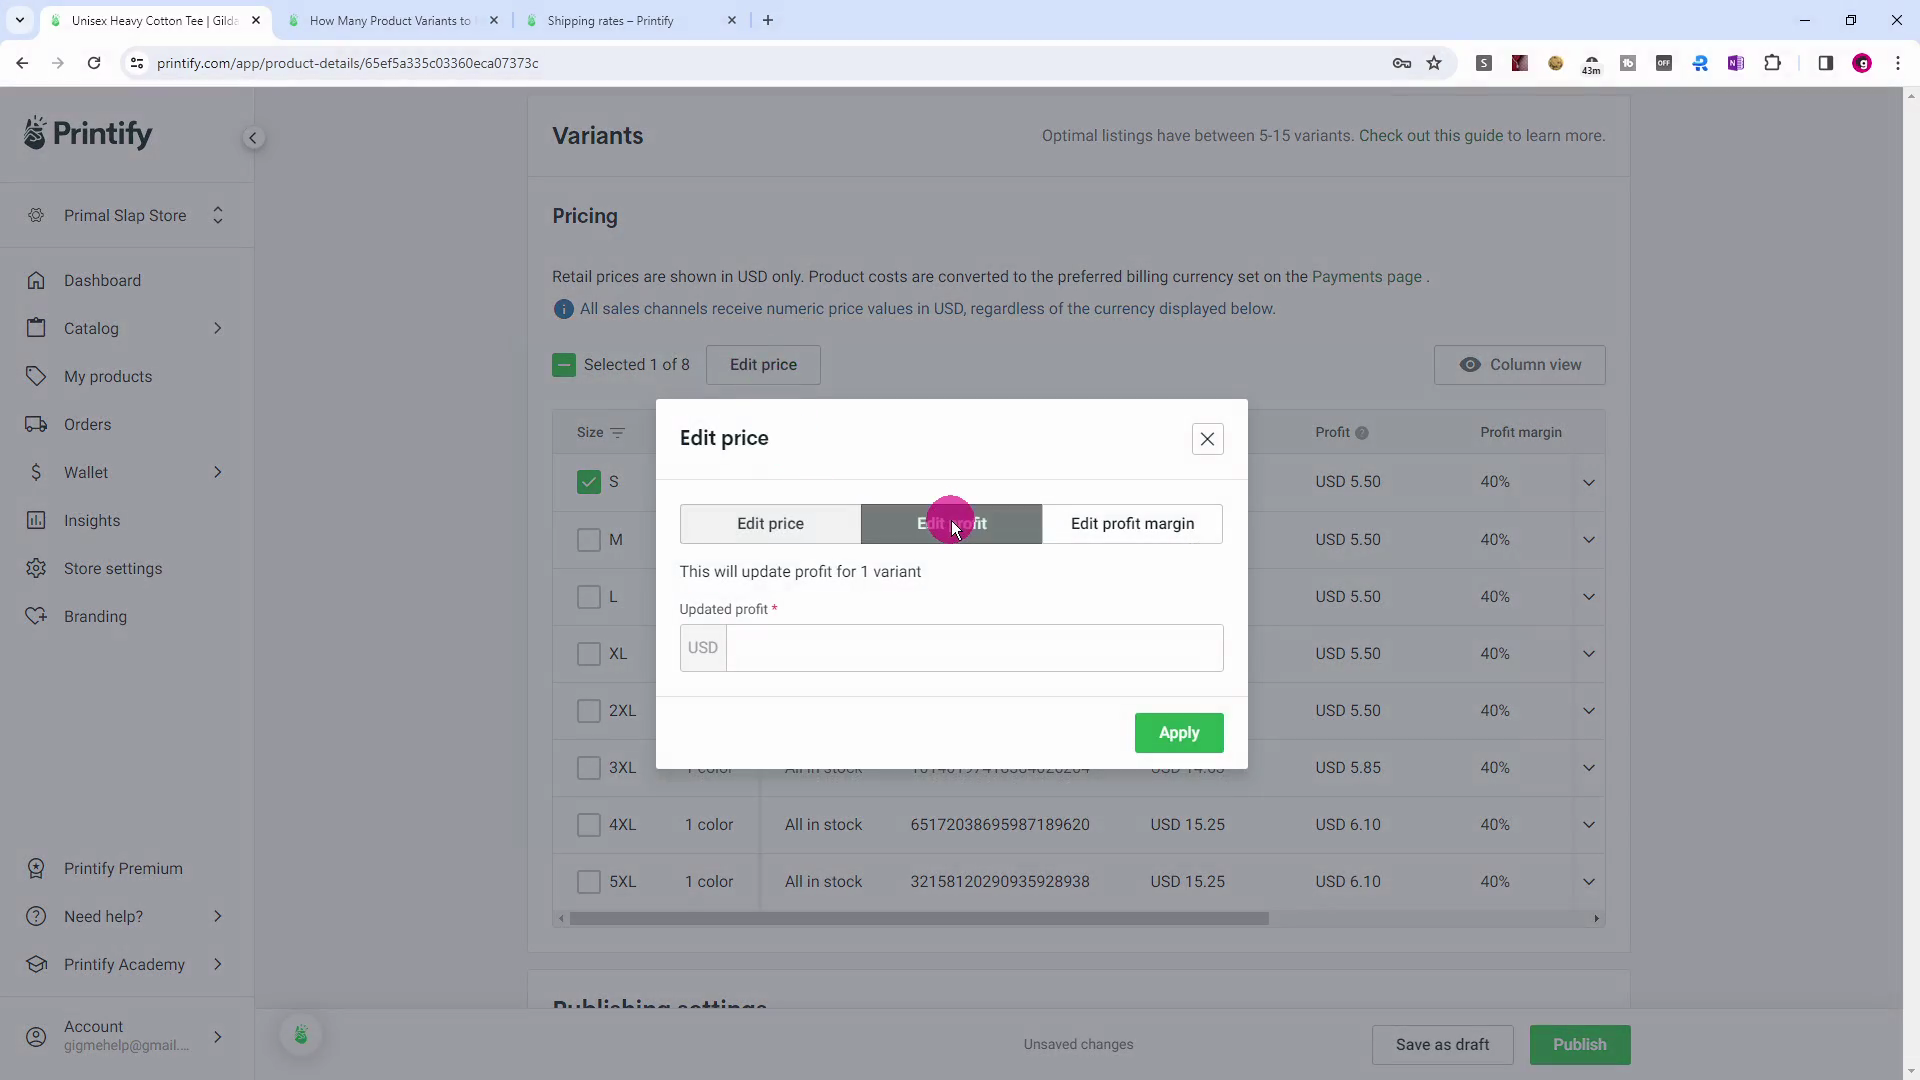
... or the Profit...

... or the Profit Margin (as a percentage).

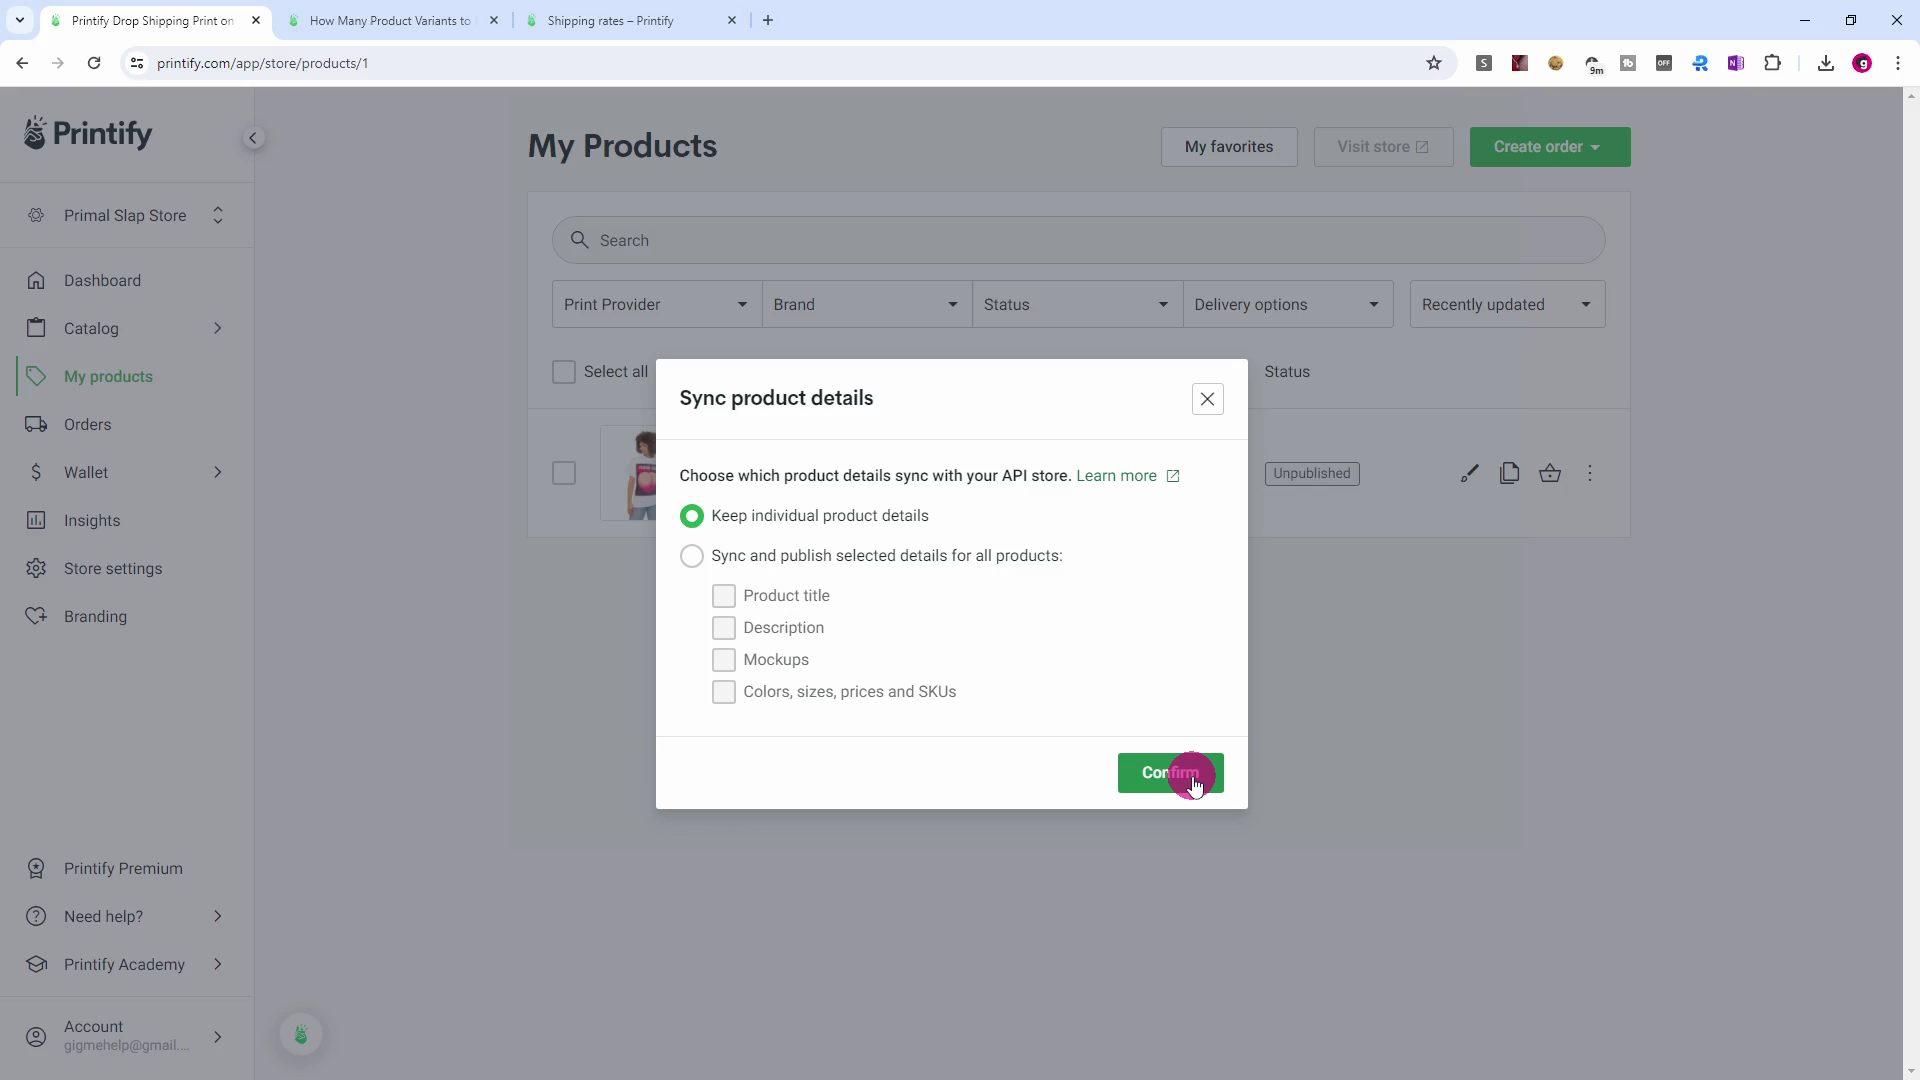
You can ignore the Publishing settings.
Click the Save as draft button.

Publish / Un-publish
This takes you to the My Products page where you can re-edit your products and publish them to GigMe.
Click on the three vertical dots, and select Publish.
Click the Continue button.

The Status will say 'Publishing'.
This may take some seconds - Printify is communicating with GigMe.

Eventually, the Status will say 'Published' in green.
You have now published your product to GigMe.

In the GigMe App, go to your band's pages and click the Merch button.
You will see your product is now for sale. You can use the Share button to tell the world about your new product...
... or you can click on the product to view the details page.

On the details page you can check that everything is how you want it.

Un-publish a Product
You do this if you want to take the product off the GigMe App to make changes and, (perhaps), later re-publish it.
Go to your band's GigMe backend page.
Click the 'Printify Products' button.
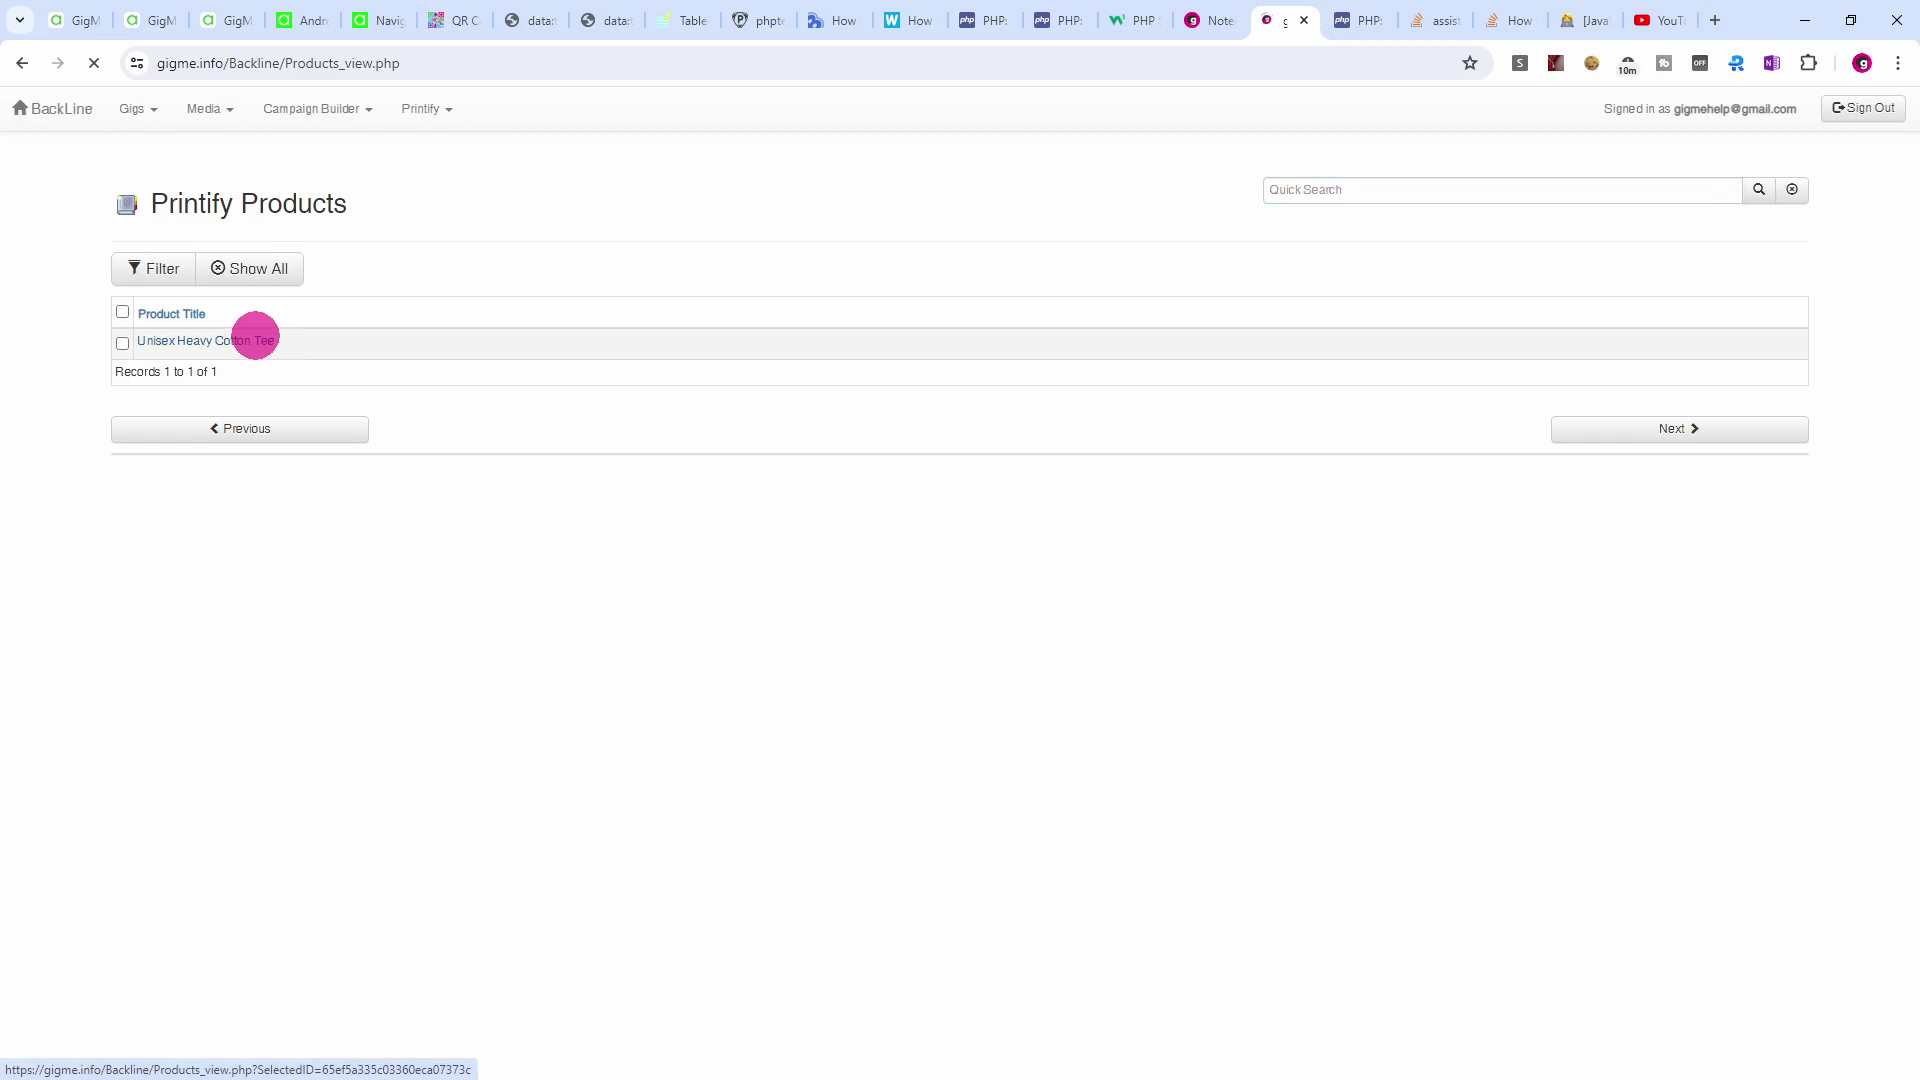
Click on the Product you wish to un-publish.

Click the Un-publish checkbox.

Click on the Save Changes button.

Click on the Back button.

DONE. Click on the BackLine button to return.

Hide / Show Product
If, (for instance), the print provider is temporarily out of stock and you do not wish to take any further orders while this remains the case, you can make the product invisible in the App via this method.
Click on the three vertical dots, and select Hide on API.

To reverse the above, click on the three vertical dots, and select Show on API.

Delete a Product
This completely removes the product from the GigMe App AND from Printify.
Click on the three vertical dots, and select Delete.

If you are really sure, click the Delete button.

See in store
As Printify was originally conceived with the Web in mind, this cannot really be done for a mobile App. However, you can select this option to see a mock-up of roughly what the page would look like in the app AND see some key details about the product.
Click on the three vertical dots, and select See in store.

The page is generated on the fly. You can just delete the tab when you are finished with it.